Tuesday 24th October

  Evaluation/Reflection

NAME: Thomas Rakuljic
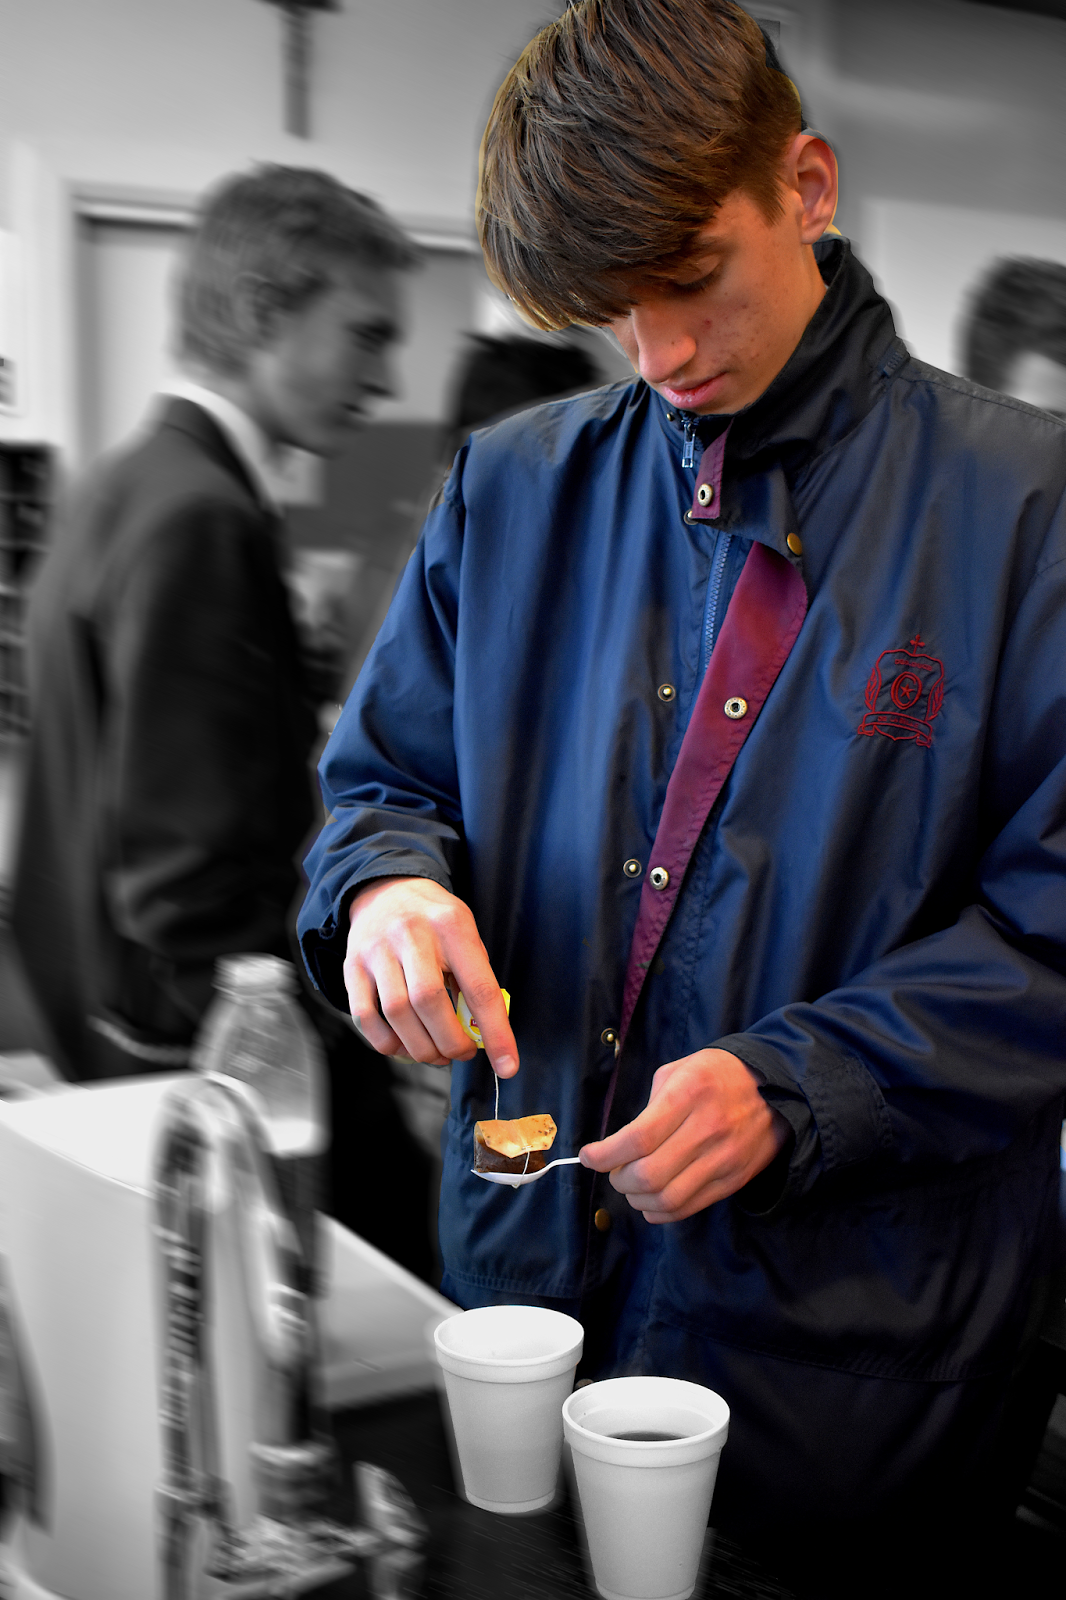
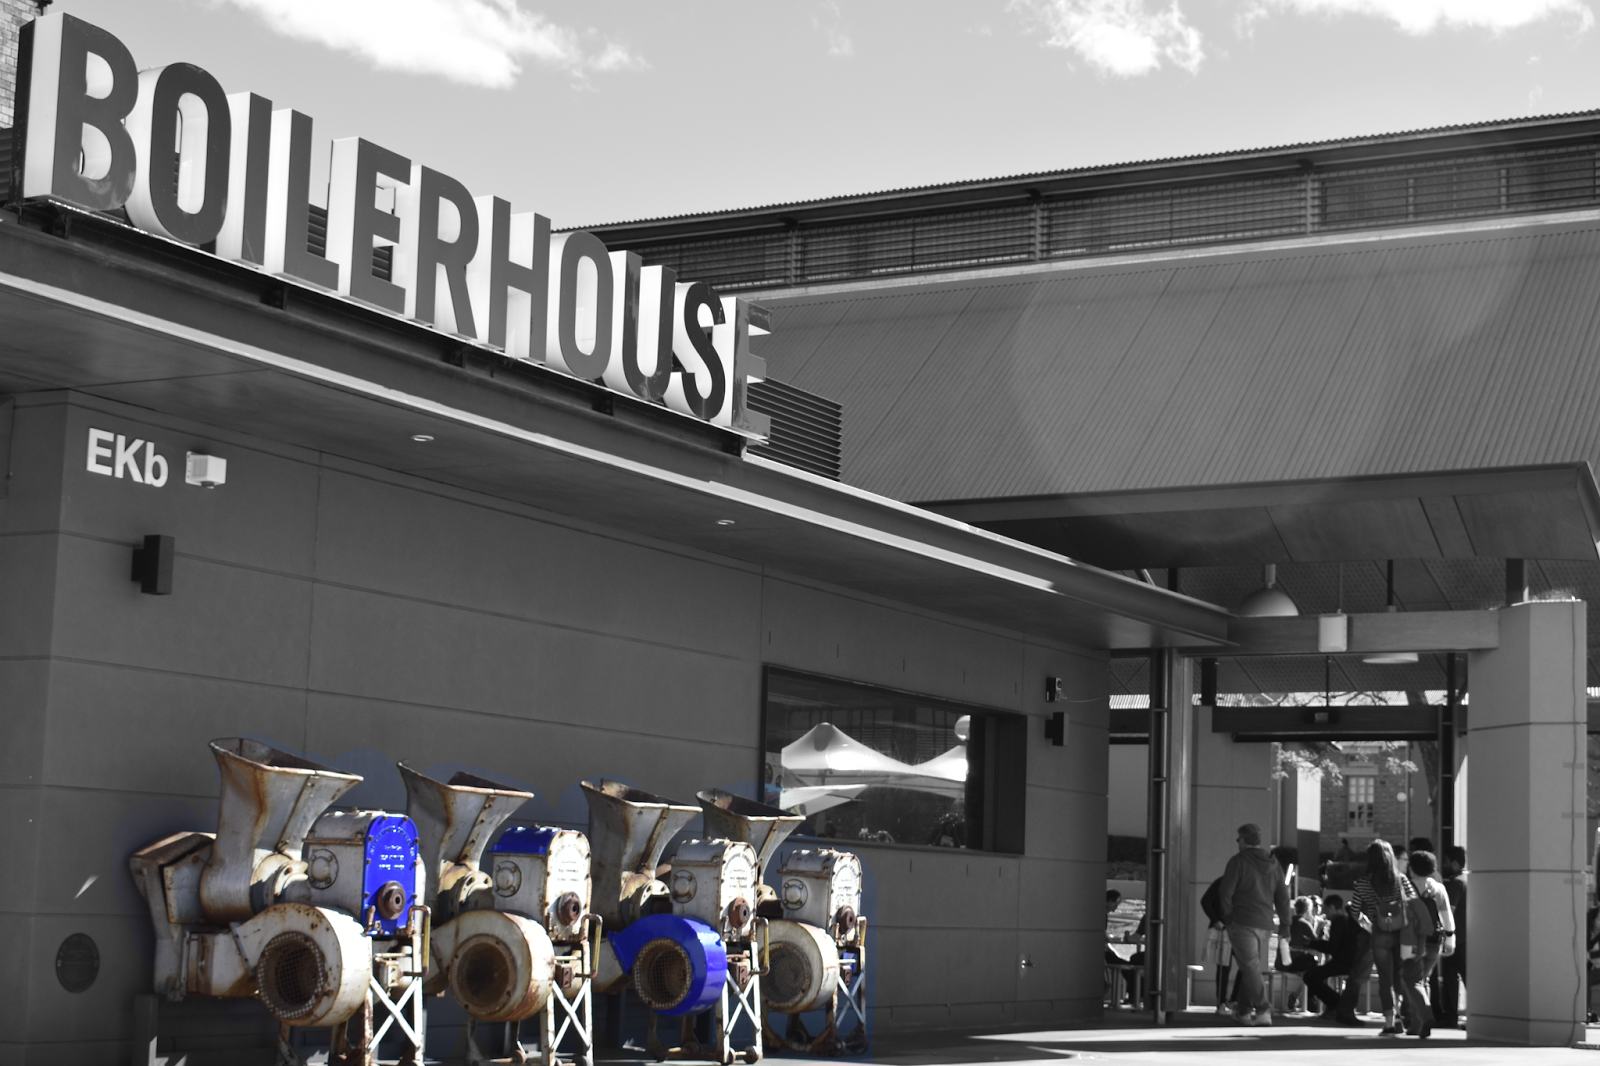
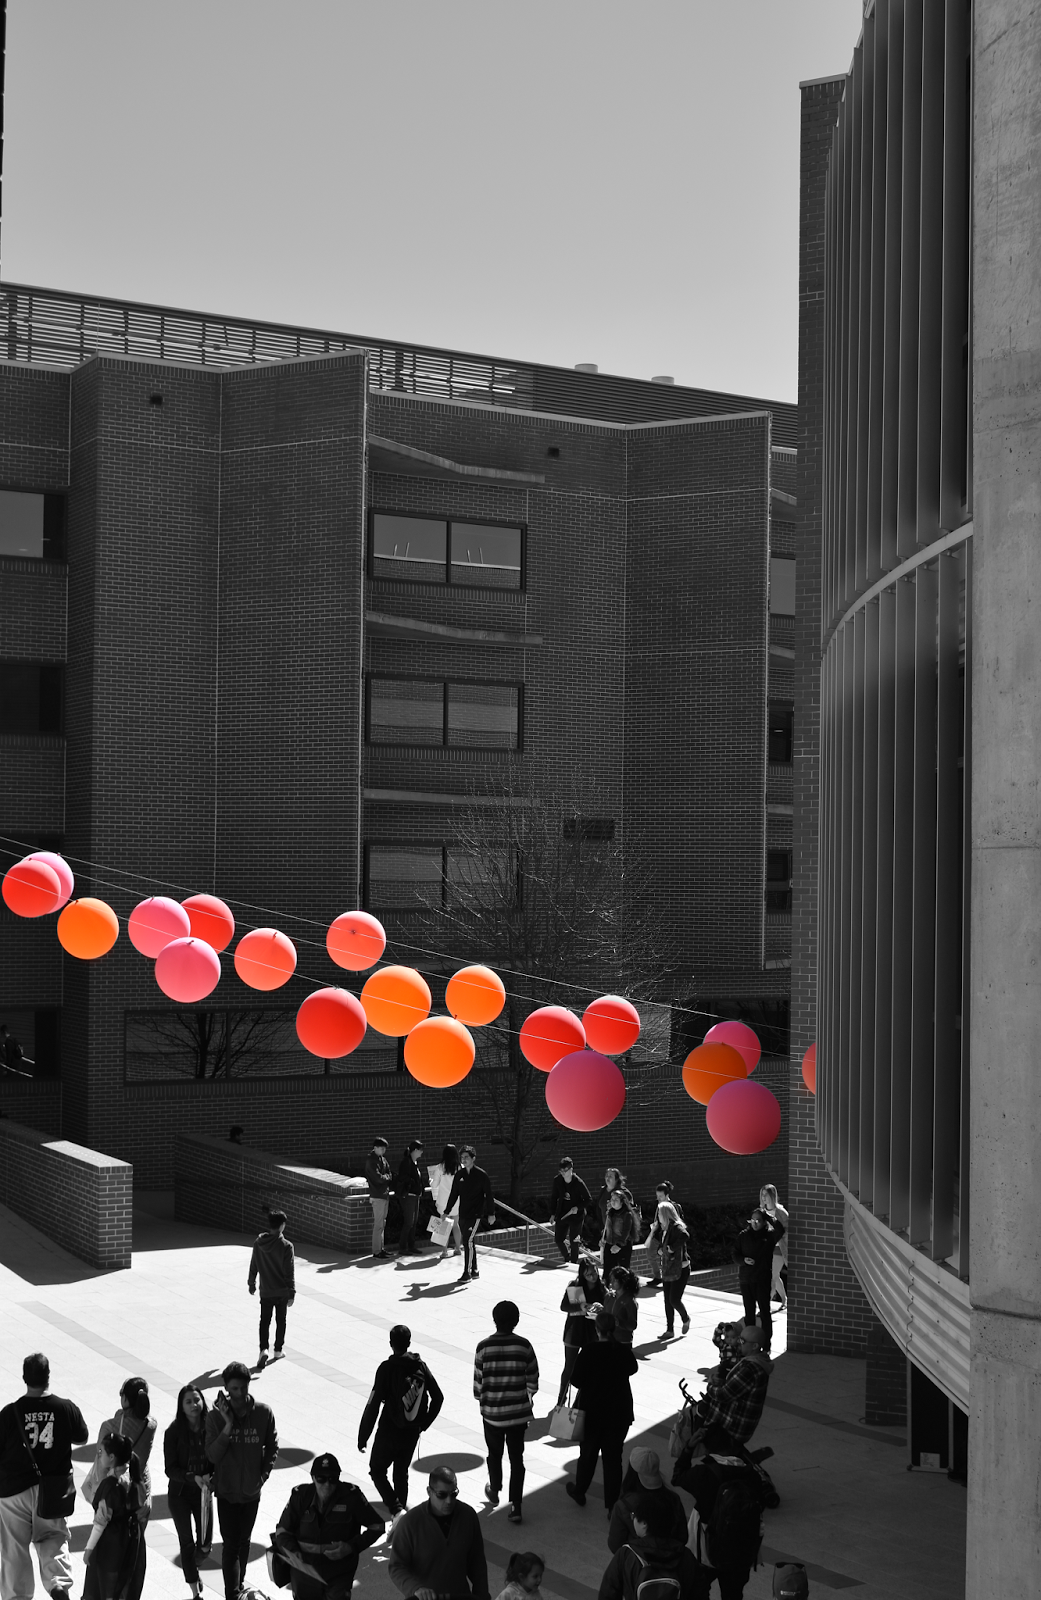
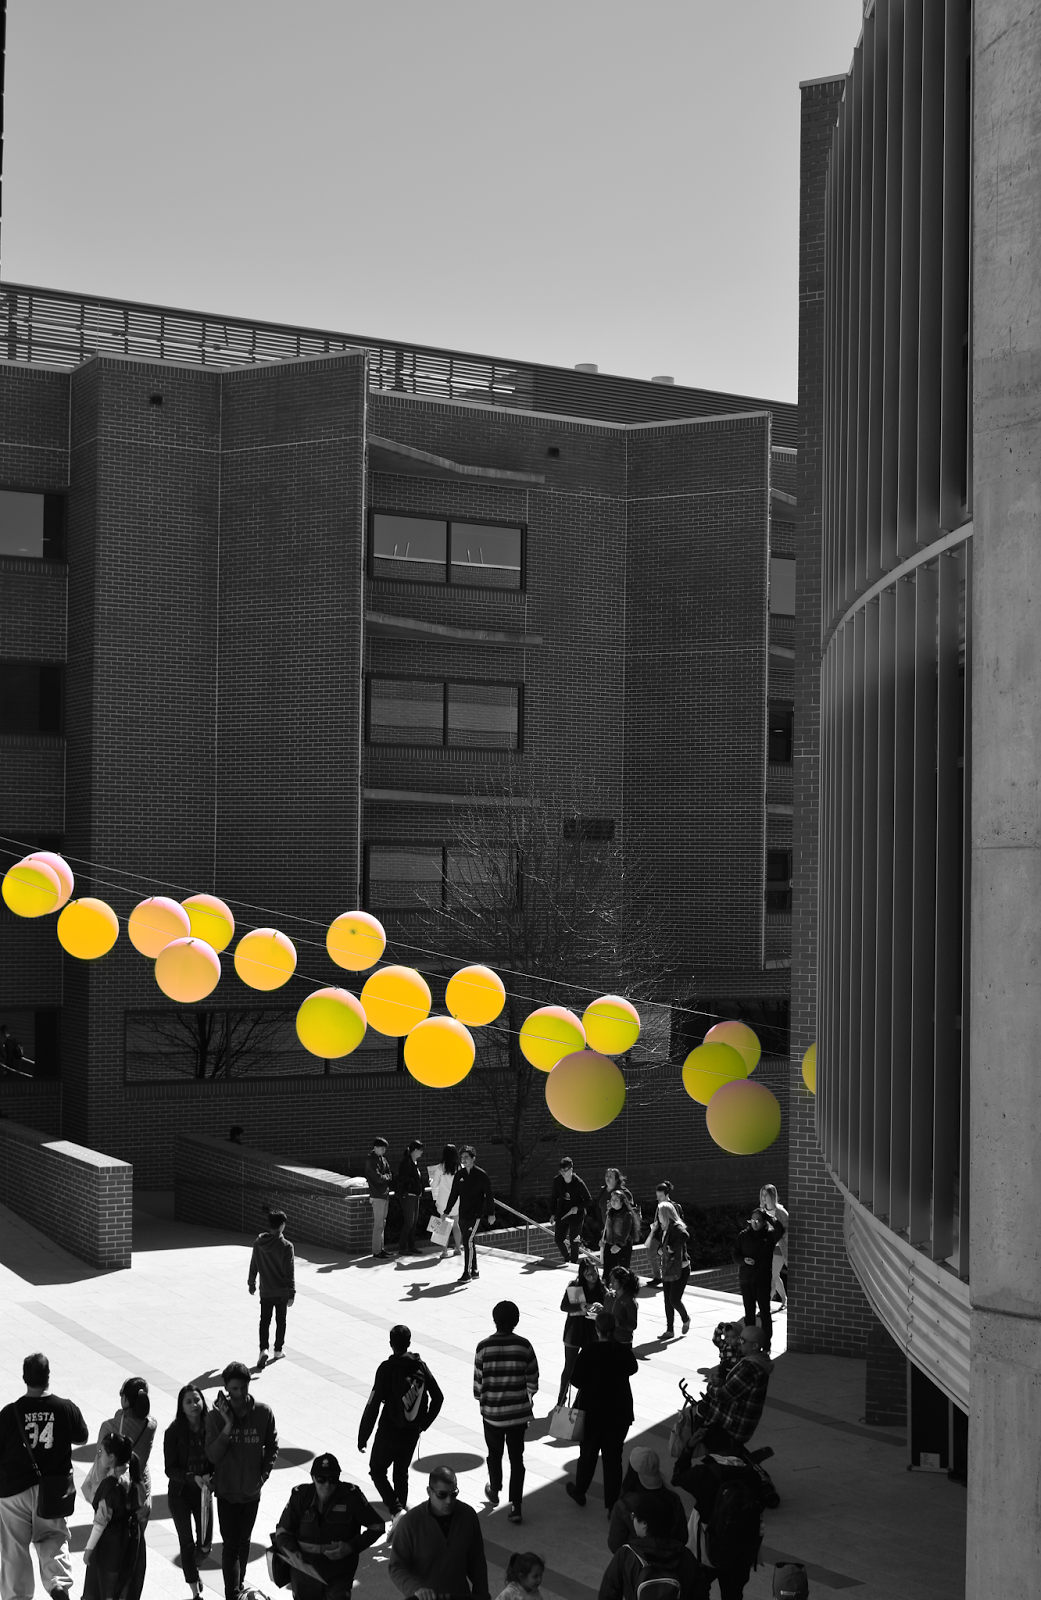
UNIT/TASK: Photography - body of work.


What grade did you think you will earn for each category? Type in your response.

Did Not Complete Assignment
1
Does Not All Meet Expectations
2
Approaches Expectations

3
Meets Expectations

4
Exceeds Expectations

5
Focus on all aspects of the task


Process from ideas development to completion


Organisation skills


Style & Workmanship


Content


TOTAL: 23/25
Strengths of the process or assessment task
Weaknesses of the process or assessment task
Some strengths of the process/ task were:

  • Having the freedom to take photos whenever access is available. This is important as there were a wide variety of opportunities to shoot.
  • Being involved around school provided me with a variety of opportunities to capture moments.
  • Being able to save the photos to the computer and to edit in my own style allowed me to experiment to discover what is the best method of editing.


Some weaknesses of the process/ task were:

  • Lack of feedback from peers
  • Prints from the printer turned out differently than expected.  
  • Discovering the best method of editing took away time that could have been spent taking better pictures in terms of compositional rules.
  • I did not have a camera on me at all time, and I lost some opportunities to capture photos as a result.


What did you learn from doing this assessment task? (skills, life lessons, words etc.)
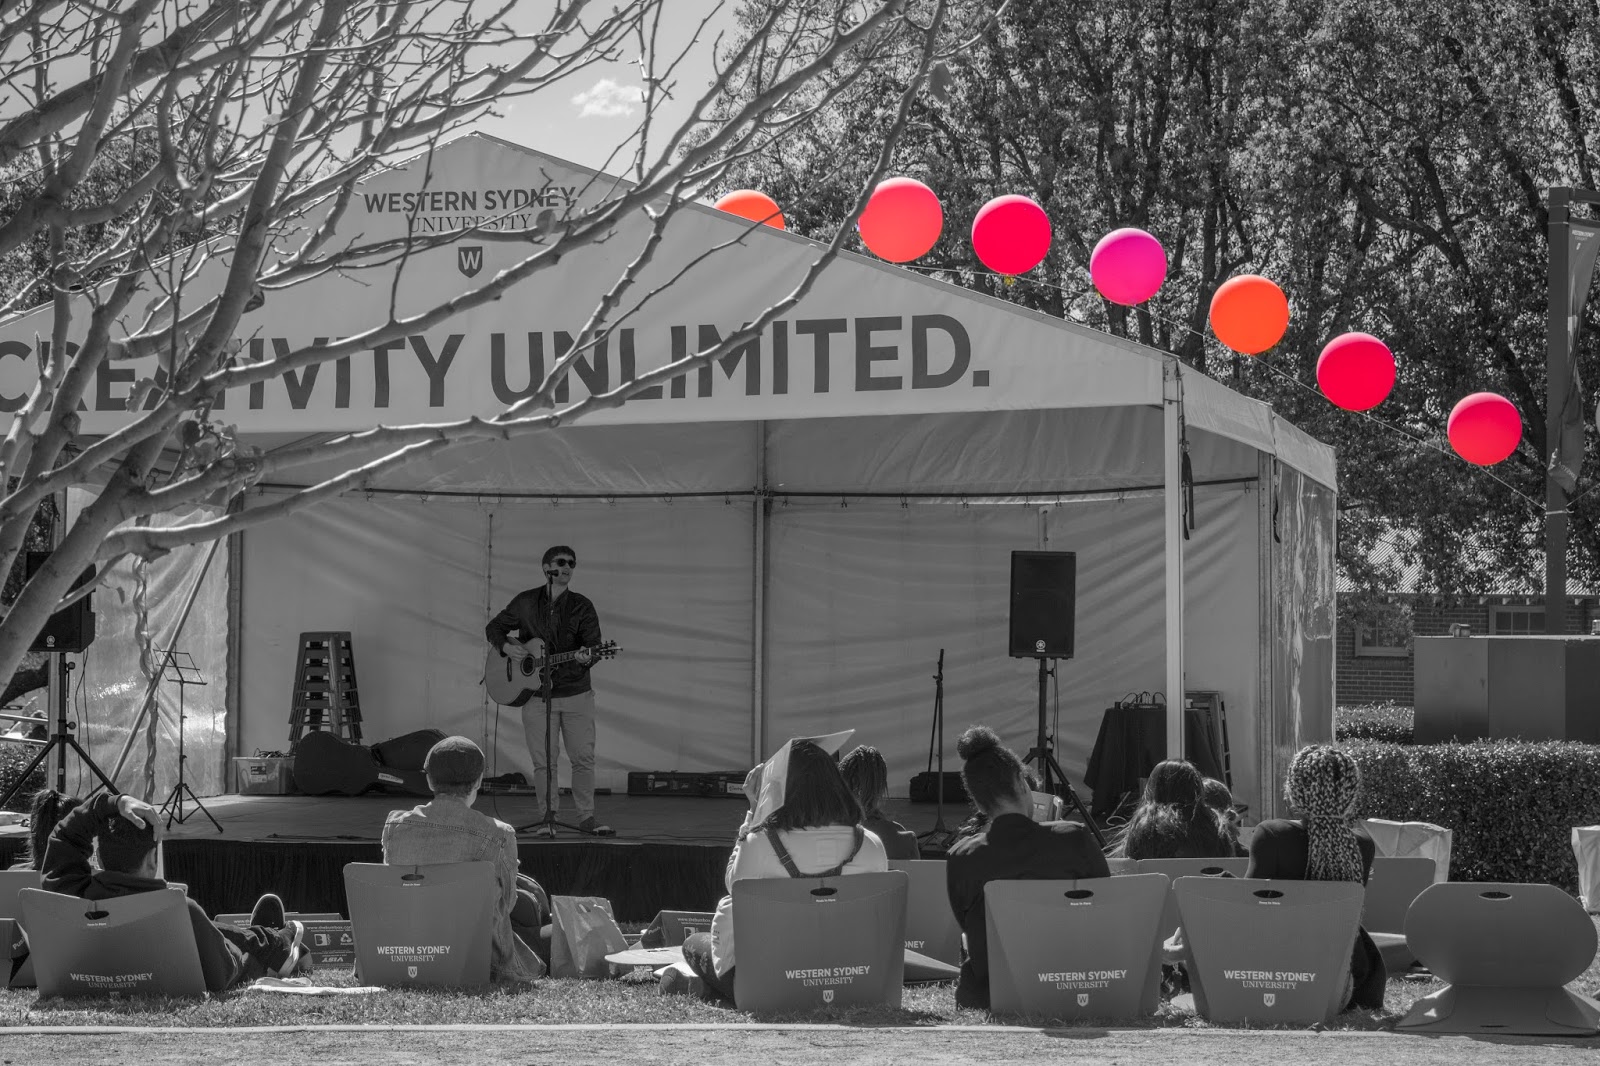
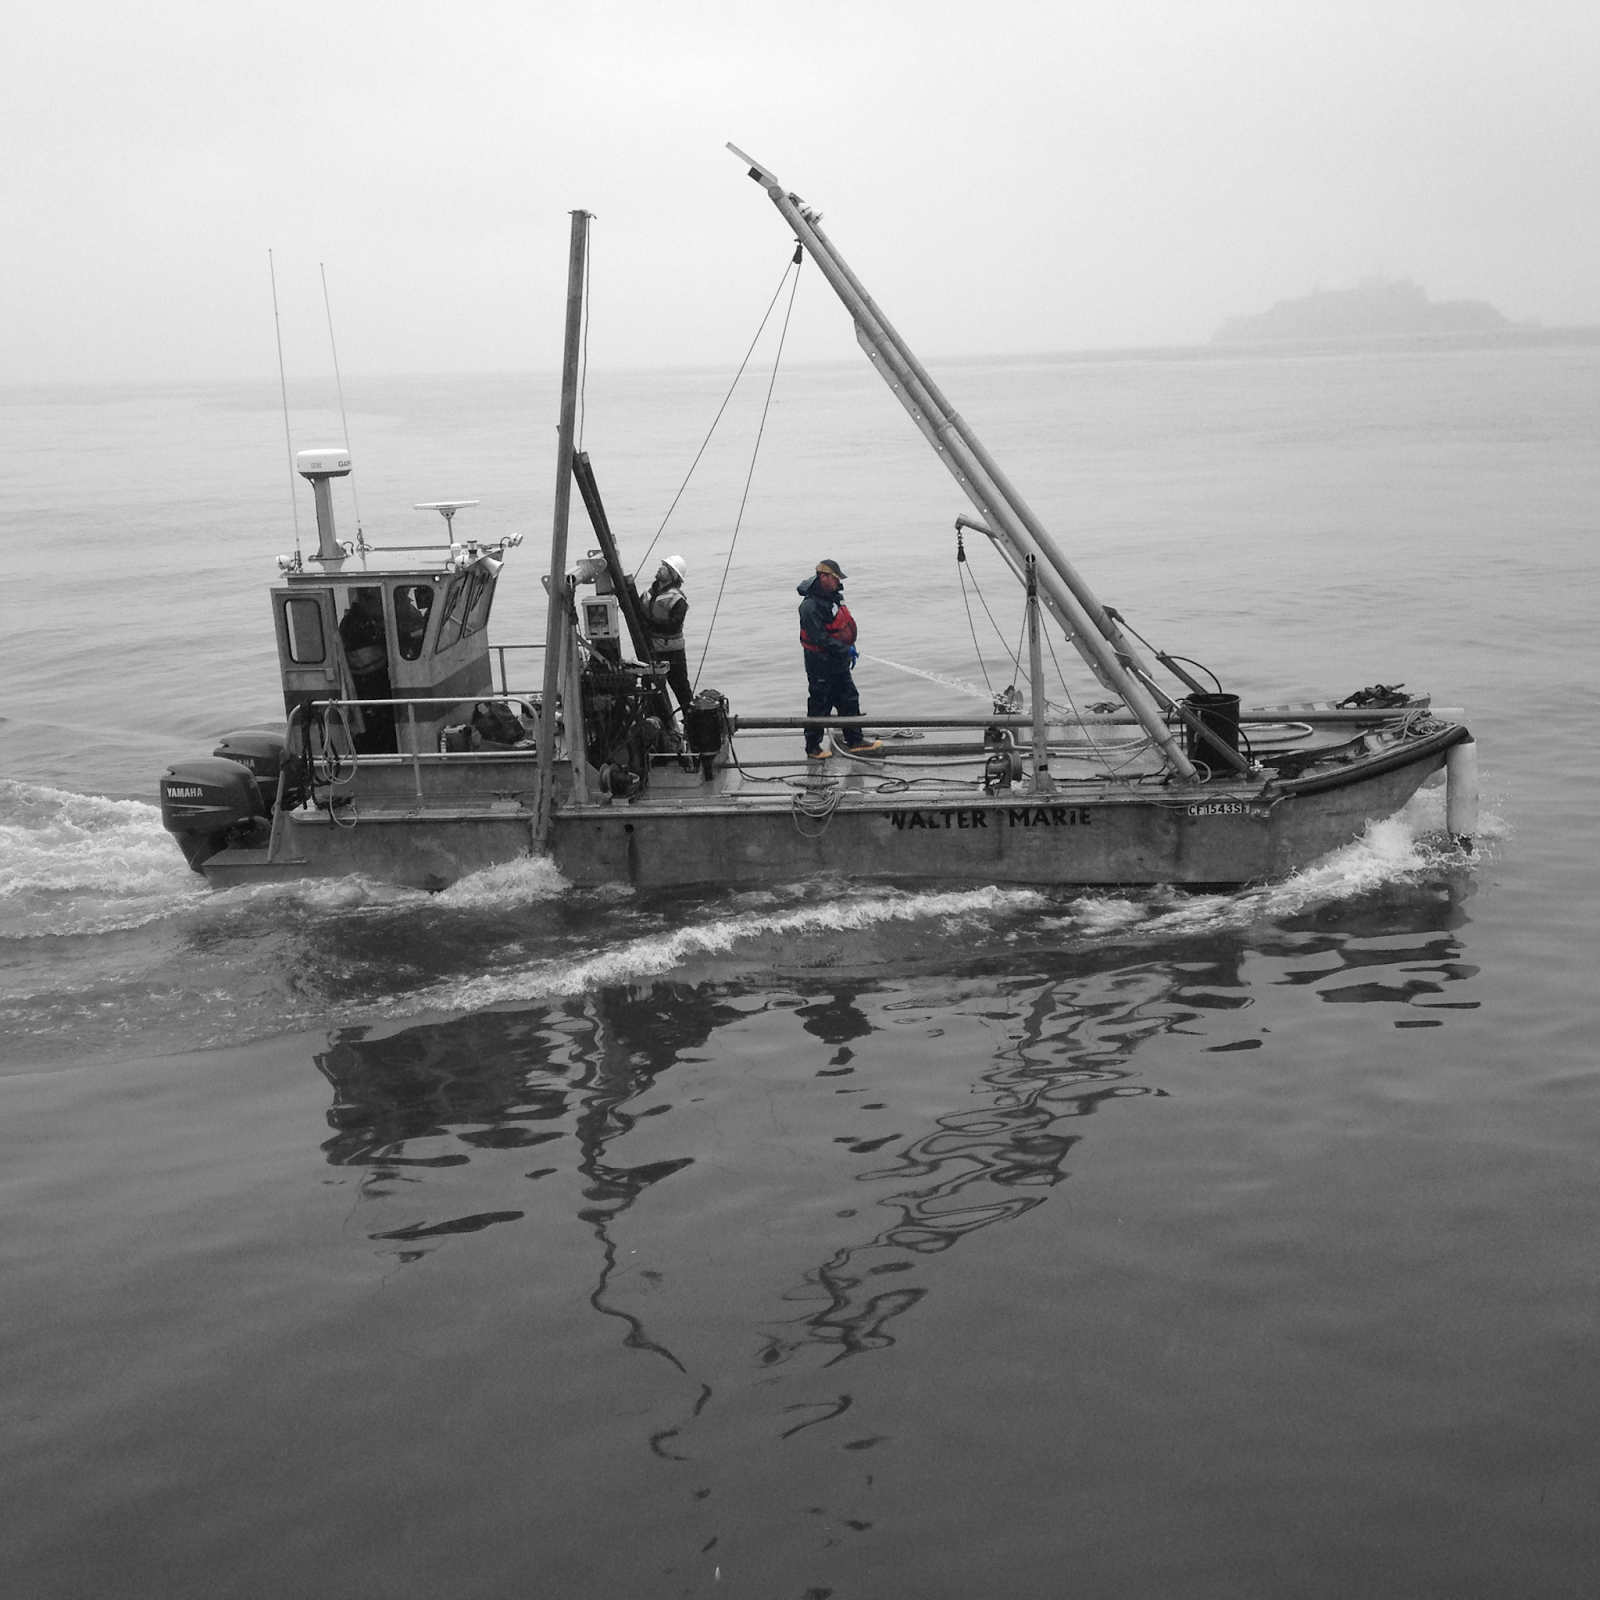
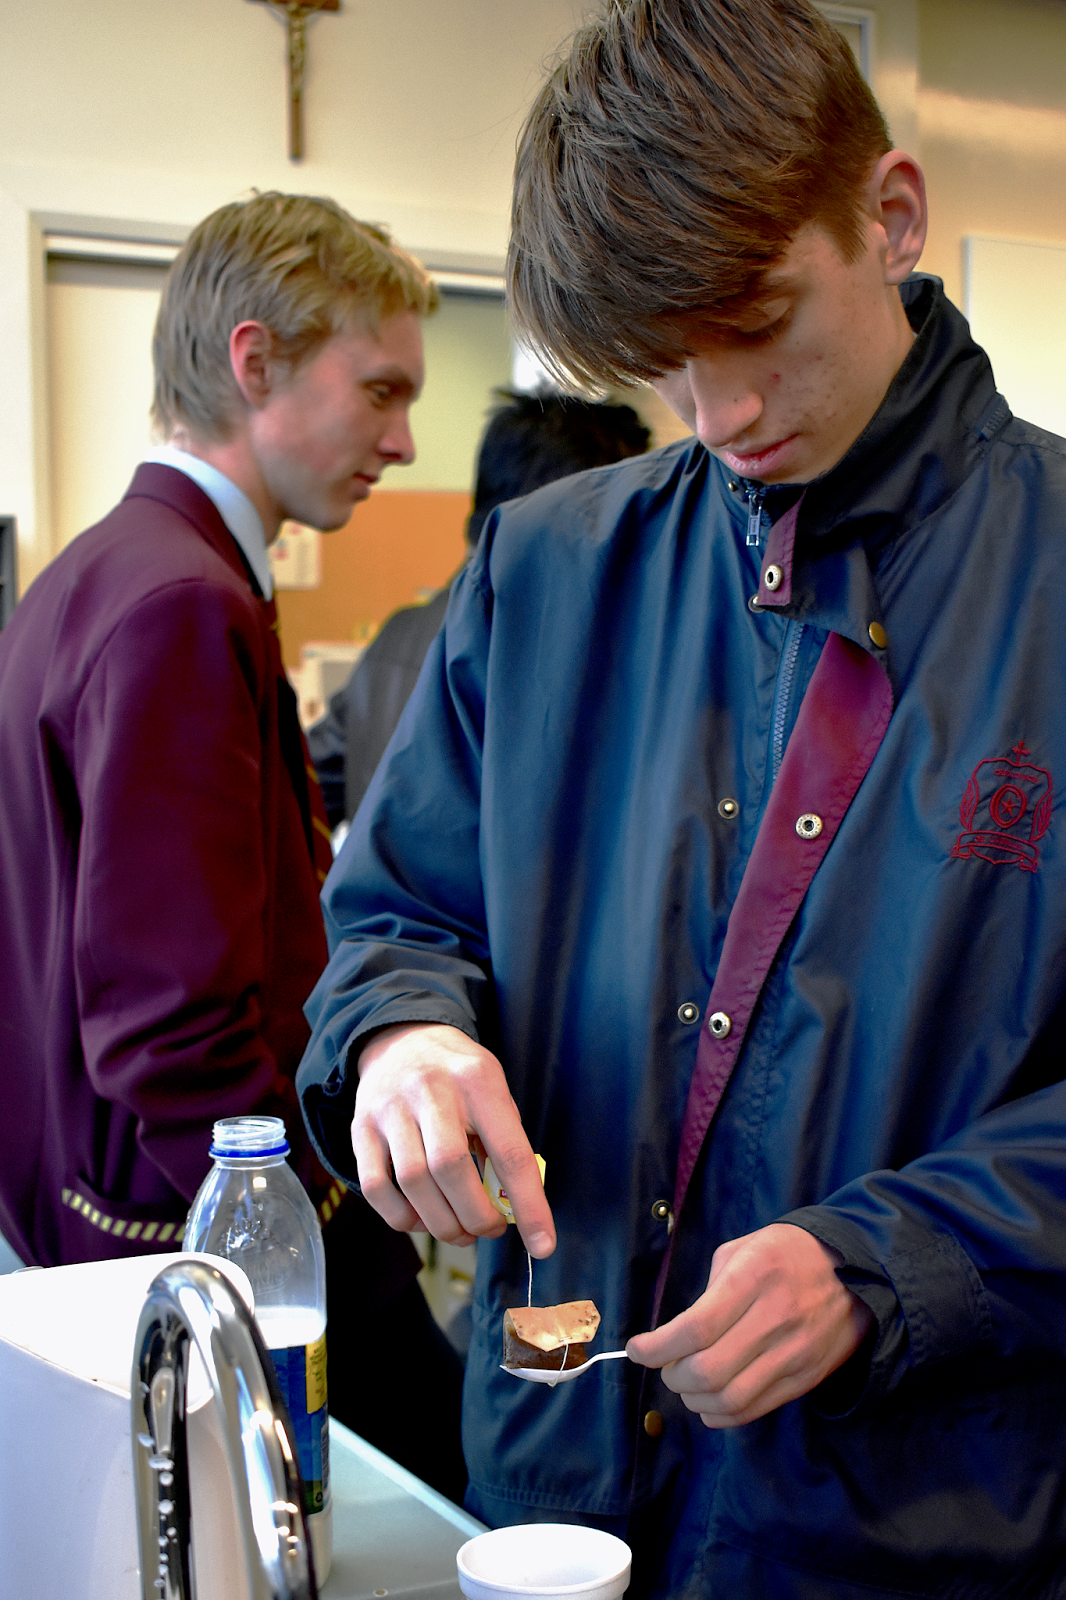
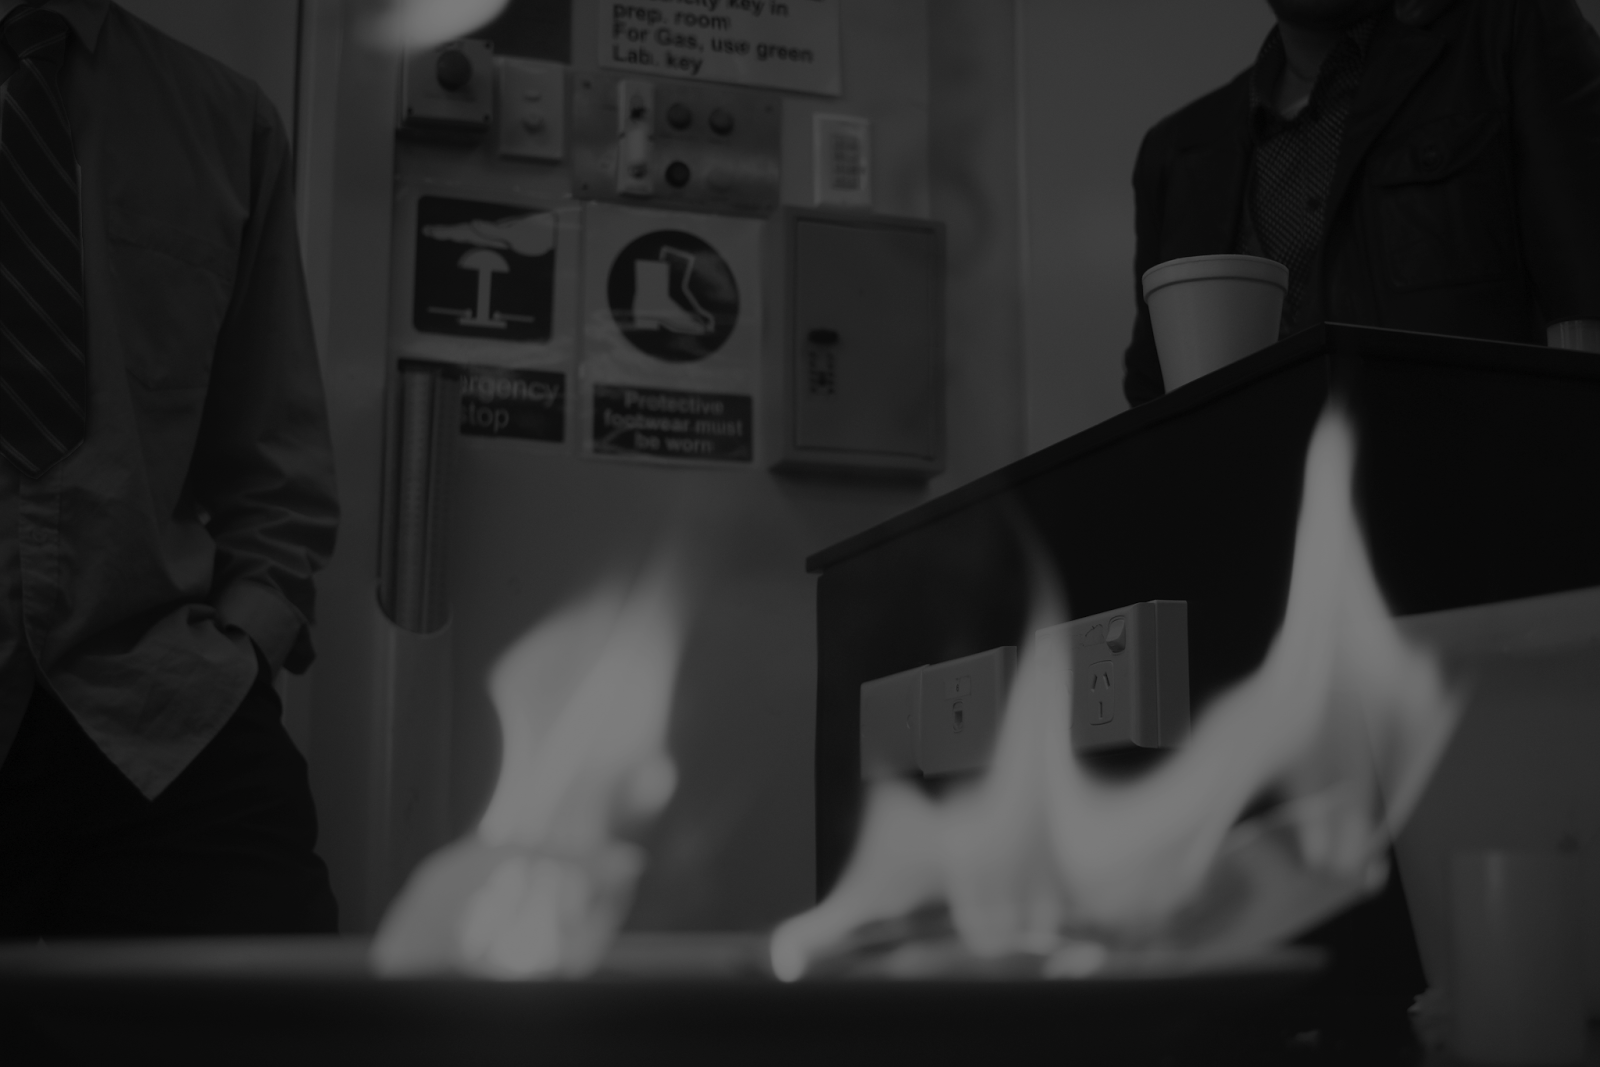
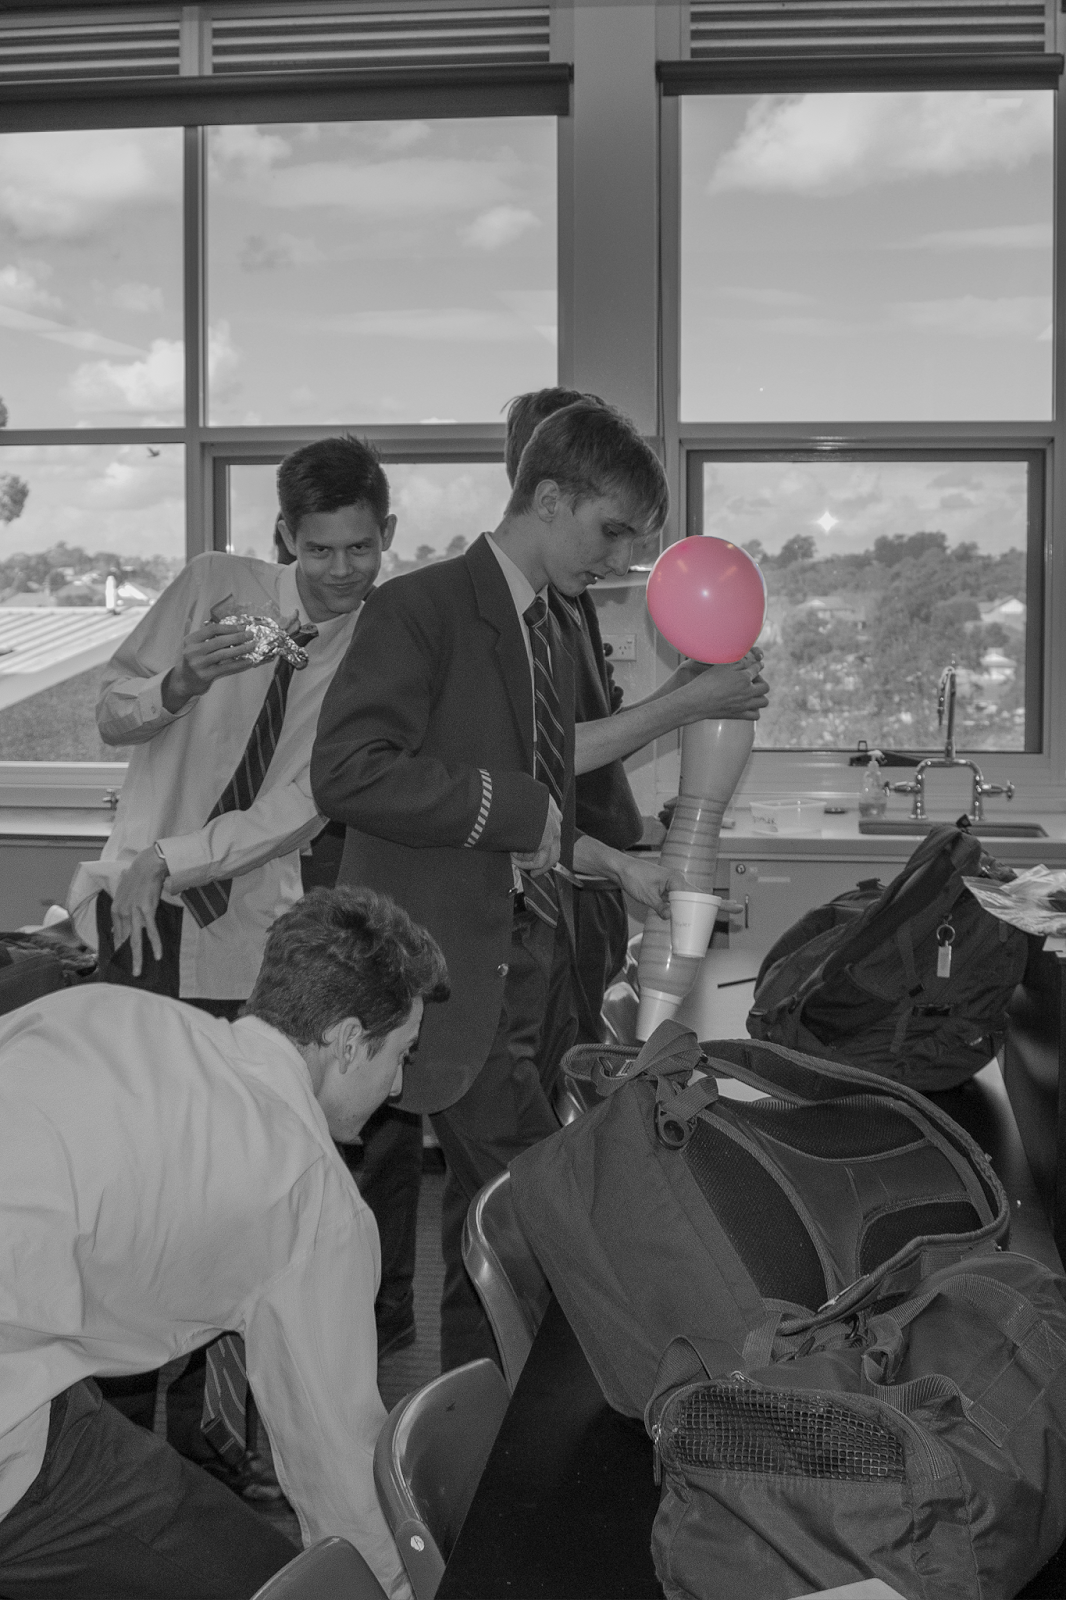
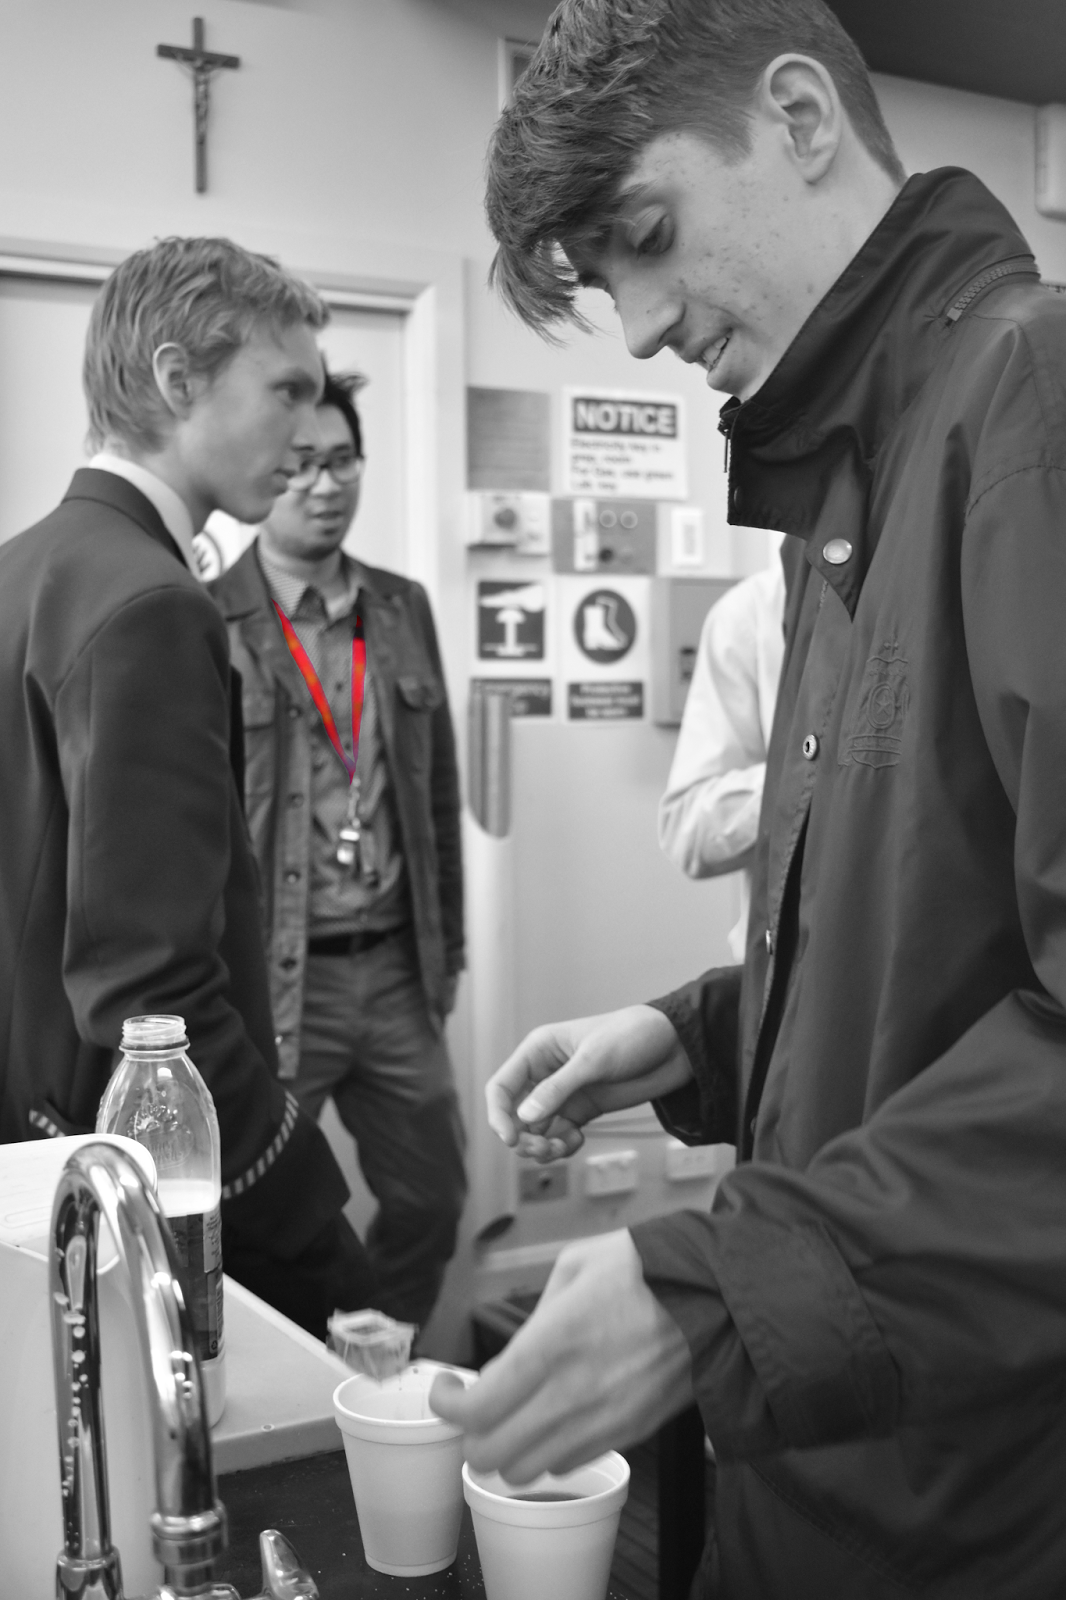
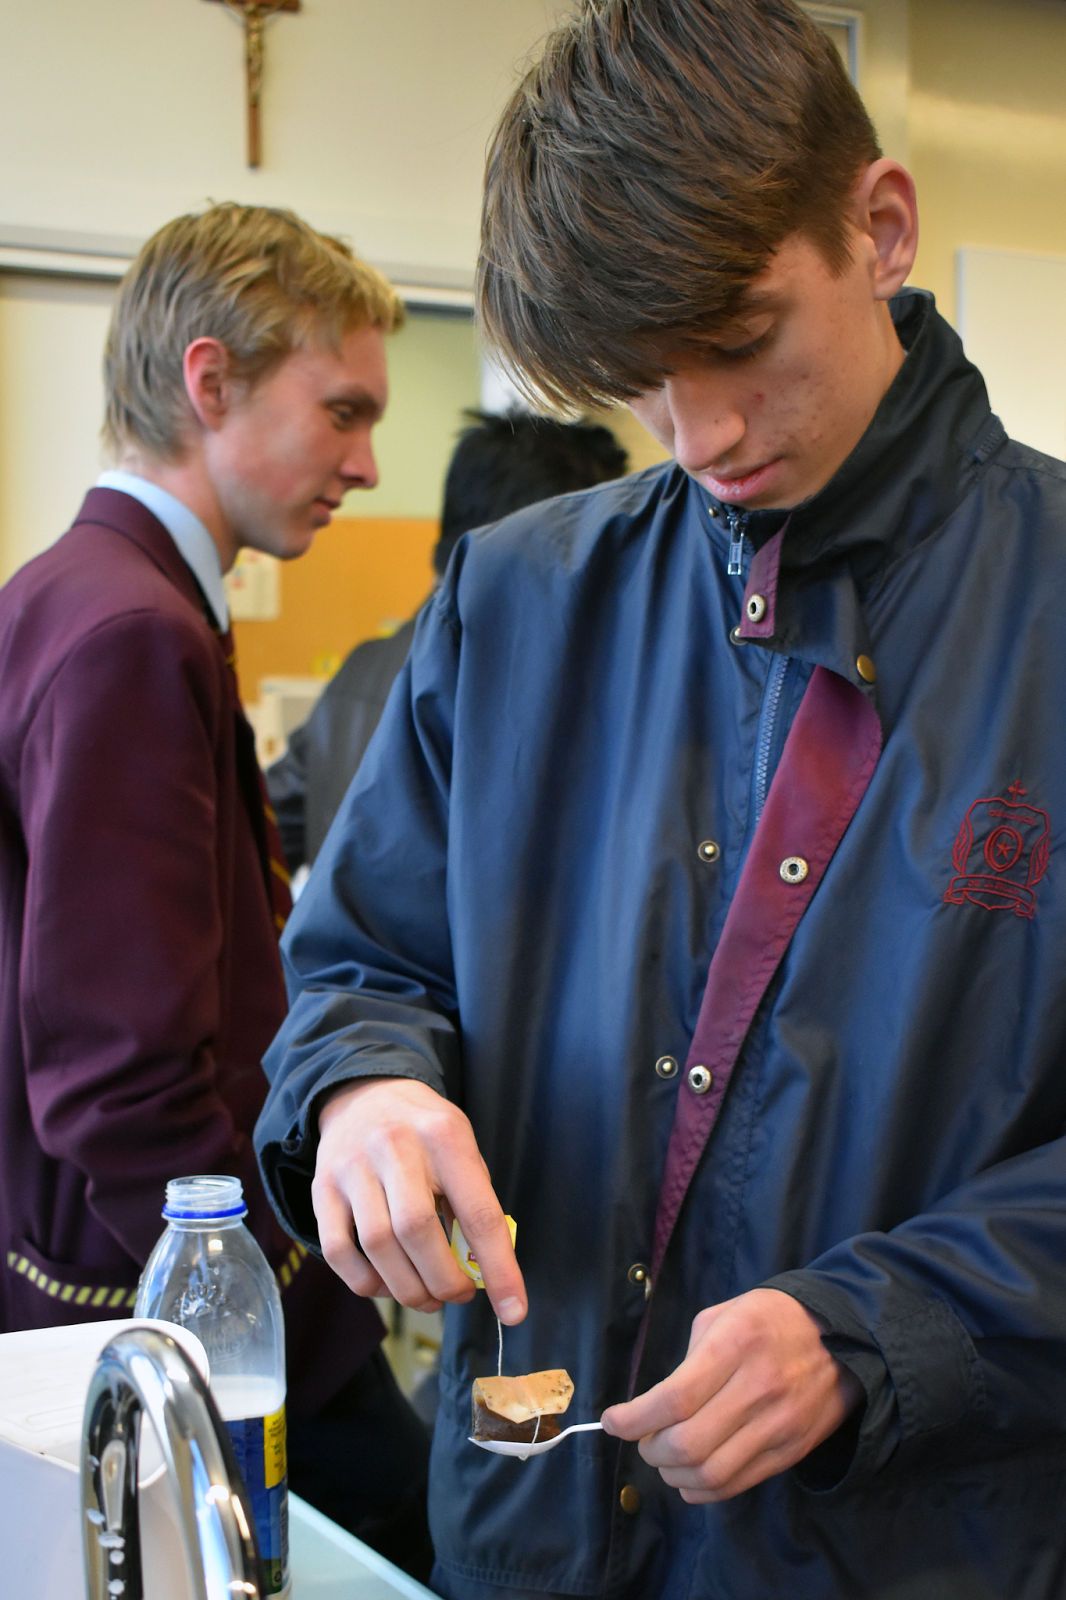
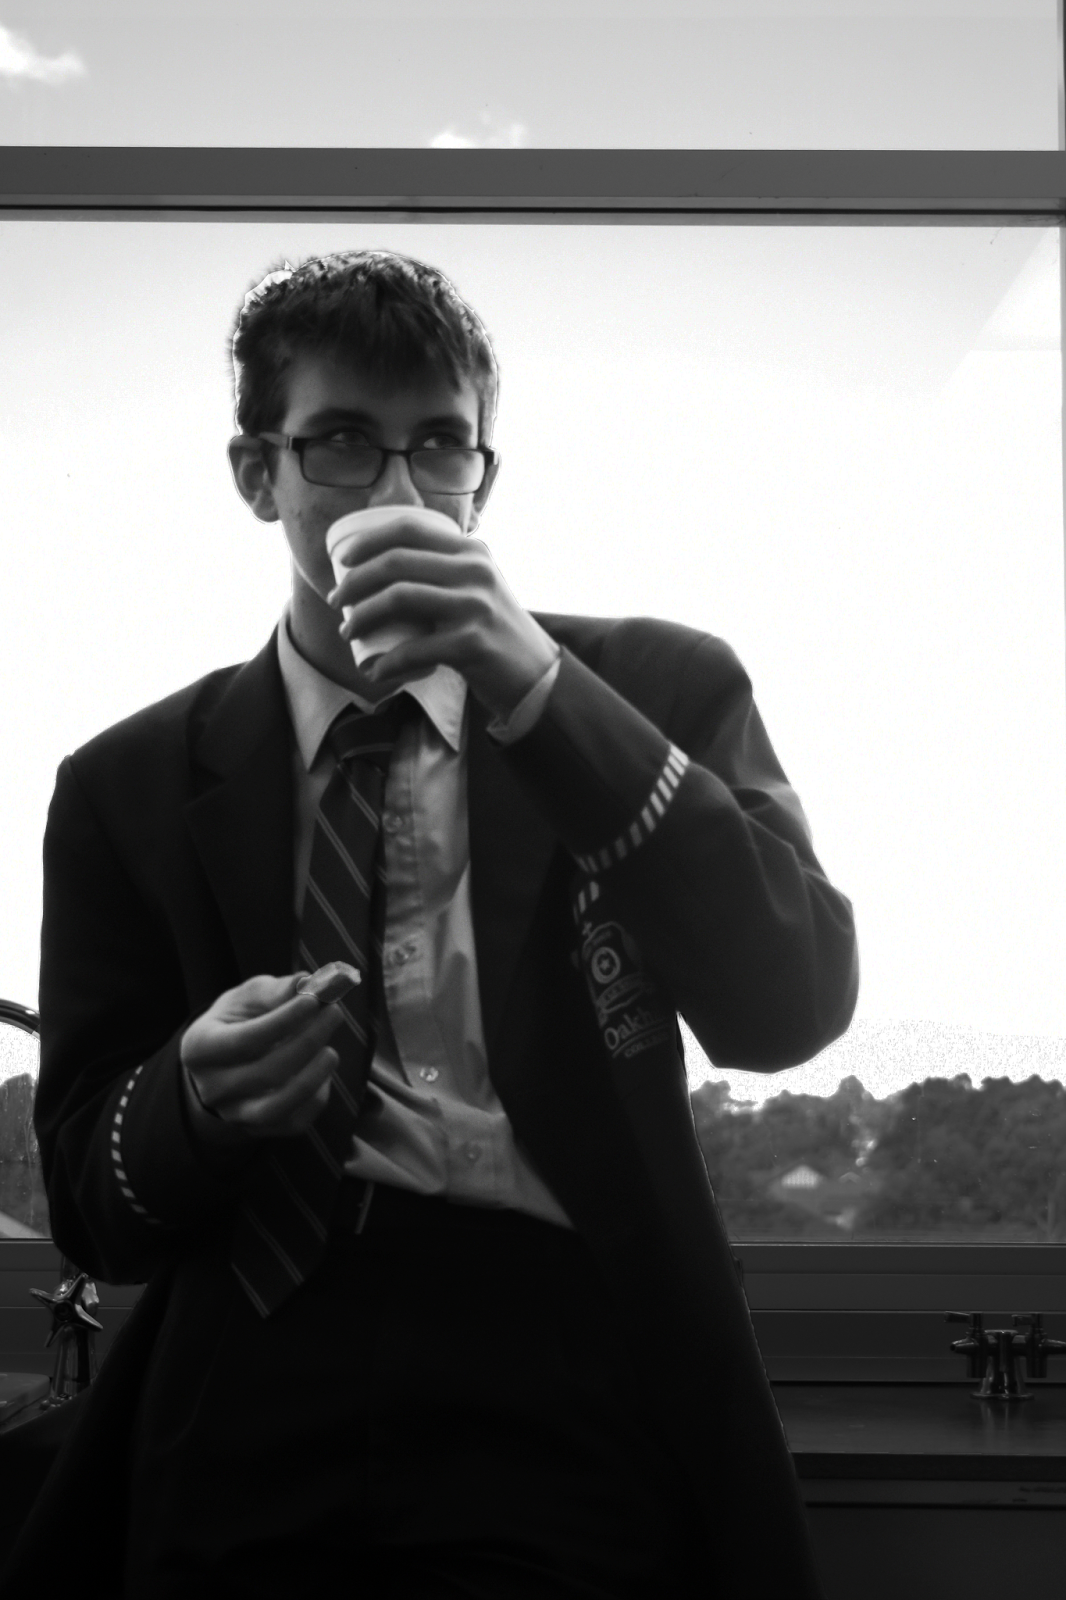
I learnt from completing this task that I should always be prepared to capture an image, even if it means mobile photography. This would allow me to broaden my portfolio of work and that I would constantly have something to work on in photoshop. Furthermore, with a wider range of photos to work with, I can create more combinations, further refine my editing practises and discover new techniques that work with different styles of work.

How do you feel about your final product?
Overall, I feel confident that my product was an effective use of time. However, time could have been spent more effectively and my style of composition could have been further refined and have been consistent throughout all of my artworks.

If you could do this task all over again, what would you do differently/the same?
If I could do this task again, I would change my style of composition so that it reveals more themes and has more reason behind the photos. However, I would continue to keep the type of editing the same as I find it interesting.

Did you enjoy this assessment task? Why or why not?
I enjoyed this assessment task to an extent. I enjoyed it because I could grab a camera and take photos. However, there were some aspects of the task that I did not enjoy, which were that I couldn’t organise people to do certain actions and that I had to fast at taking photos.


What would you improve for your final product for next time?
To improve my final product for next time, I would change my style of composition so that it reveals more themes and has more reason behind the photos, I would also start taking photos with my family so that I could test organising them into posing for the composition compared to taking photos of them without them realising. Then, I would go out into the city and I would take photos, looking through the window of customers eating food.

Friday 13th October

Camera Settings: 
ISO: 2000
Shutter Speed: 1/125
Exposure: f/4.2

Photoshop edits:
Duplicate the coloured image
Apply black and white filter
Colour in subject using the Eraser Tool
Apply blur to original photo
Select duplicated photo and erase.

Thursday 12th October

Camera Settings
ISO: 100
Shutter Speed: 1/250
Exposure: f/8

Photoshop Edits
Blacks -26
Shadows: +84
Exposure: +0.06
Highlights: -25
Whites: +12

Black and White colour filter used.
Background eraser tool used over the objects to create colour.

Wednesday 11th October

Camera Settings
ISO: 100
Shutter Speed: 1/250
Exposure: f/8

Photoshop Edits
Blacks -26
Shadows: +84
Exposure: +0.06
Highlights: -25
Whites: +12

Cropping from bottom right and top left.
Black and White colour filter used.
Background eraser tool used over the balloons to create colour.


Exact image as above, however, using selective colour on the reds panel, I made these adjustments.
Cyan +100%
Magenta -100%
Yellow +58%
Black -24%

Monday 10th October

Camera Settings: 
ISO: 200
Shutter Speed: 1/640
Exposure: f/5.6

Photoshop edits
Blacks -31
Shadows: +100
Exposure: +0.10
Highlights: -100
Whites: -27
Cropping from bottom left and top right.

Wednesday 20th September

Camera Settings: 
ISO: 50
Shutter: 1/640
F-Stop: f/2.4

Photoshop Edits:
Duplicate the first layer
Black and White Filter
Lasso Tool around the person (twice, because there is a beam that cuts through his body)
Copy the colour layer
Paste the colour layer


Camera Settings: 
ISO: 50
Shutter: 1/640
F-Stop: f/2.4

Photoshop Edits:
Duplicate the first layer
Use Black and White Filter on the first layer.
Leave the second layer in colour.
Hide the colour layer, on the Black and White layer, erase the fishermen and the boat.
Reveal layers.

Monday 19th September


Camera Settings:
ISO: 2000
Shutter Speed: 1/125
F-stop: f/4.2

Photoshop edits: 
Auto Colour
Auto Contrast
Auto Tone


Camera Settings:
ISO: 500
Shutter Speed: 1/250
F-stop: f/4.2

Photoshop edits: 
Auto Colour
Auto Contrast
Auto Tone
Cropped.


Friday 15th September

Camera Settings
ISO: 500
Shutter Speed: 1/200
F-Stop: f/5

Photoshop Edits
Duplicate the first layer
Black and White Filter
Lasso Tool around the balloon
Copy the colour layer
Paste the colour layer


Camera Settings
ISO: 2000
Shutter Speed: 1/125
F-Stop: f/4.2

Photoshop Edits
Duplicate the first layer
Black and White Filter
Lasso Tool around the teachers lanyard
Copy the colour layer
Paste the colour layer


The purpose of these compositions is to draw attention to a specific thing in the photo.

Thursday 14th September

Camera Settings
ISO: 2000
Shutter: 1/125
F-stop: f/4.2

Photoshop Edits
Auto Tone
Auto Colour
Auto Contrast


Camera Settings
ISO: 1250
Shutter: 1/125
F-stop: f/5.6

Photoshop Edits
Black and White Filter
Auto Tone
Auto Colour
Auto Contrast


Tuesday 12th Sept


Left = original
Right = edited

I asked Ms for help and used to lasso tool to outline the subject. Then I used the Brightness/Contrast to increase the brightness and contrast of the image.


Camera settings: 
F-stop: f/5.0
Shutter speed: 1/200
ISO: 800

Edits:
+106 Brightness
+6 contrast
+4 rotation clockwise

Photo 1 - Analysis - 40% Submission - Part A


Camera Settings 
ISO: 100
Shutter Speed: 1/320
Aperture: f/8

Date & Time
25 August 2017  @2:40pm

Photoshop Edits:
-100 highlights
-1.04 exposure
-33 shadows
-100 whites
+3 blacks

Lighting
Indoor classroom lighting.

Analysis
This photo is of a glass dome that has captured oxygen, then it has been pressurized to create condensation on the inside. I believe that this photo is very effective through the use of brightness and direction. This is achieved through the bright dome that is towards the left of the composition. This composition is effective in mirroring my influencing artists practice as it displays simplicity and makes an interesting subject. This is achieved through the use of 30-60-10. 30% of the photograph includes the red tubing, the Star Wars timer, the taps and the pressuriser behind the stopwatch. 60% is the glass dome and 10% is the rest of the composition.


Friday 1st September - mindmap

Thursday - 31st August

This lesson, I tried updating my blog with photoshop edits of my photos that I took during the weekend, but Blogger wouldn't upload my photos.

The Weekend

On the weekend, I went to the Western Sydney Uni open day in an attempt to capture some Bresson-influenced compositions.

This photo was from the Friday before the Weekend.


ISO: 100
Shutter Speed: 1/320
Aperture: f/8
photoshop edits:
-100 highlights
-1.04 exposure
-33 shadows
-100 whites
+3 blacks


The following is from the weekend, when I went to the Western Sydney Uni open day.

ISO: 100
Shutter Speed: 1/200
Aperture: f/8
Photoshop edits:
-37 brightness
+7 contrast


ISO: 100
Shutter Speed: 1/320
Aperture: f/9
Photoshop edits:
- black and white filter
ISO: 200
Shutter Speed: 1/400
Aperture: f/11
Photoshop edits:
Crop from the bottom left corner inwards.


Friday 25th August - What I did this lesson.

Screen Capture


With some photos, I used photoshop and did some editing.


I borrowed a school camera for the weekend, but at lunch, I went to Mr. Ku's Physics tutorial to try and get some photos. This was the only decent photo that I created.


ISO: 100
Aperture: f/4.8
Shutter Speed: 1/20
Colour selection tool used on the camera
Photoshop edits:
Selective colour edits -->

Red colour layer: 
Cyan =30%
Magenta =68%
Yellow =53%
Black = 26%

White colour layer: 
Cyan =100%
Magenta =6%
Yellow = -100%
Black = -100%


Monday 21st August - What did I achieve today?

This lesson, I created a mind map for the ideas for my Cartier inspired artwork. After that, I was finished and I decided to revisit some of my older work in photoshop.


Friday 21st July

This lesson, I was able to finish my PDM Booklet and I have started working on my oral presentation. However, I am struggling to find instructions on what to do in the oral presentation slideshow.

Thursday 20th July

This lesson, I continued work on the PDM Research Booklet. However, I got stuck on PRACTICE - ART CRITICISM and PRACTICE - ART HISTORY.

Wednesday 19th July


Henri Cartier-Bresson.jpg


I have started my research for my project and have decided on a French humanist photographer, Henri Cartier-Bresson.  He is considered a master of candid photography and an early user of 35mm film. He pioneered the genre of street photography.


Here is some of his work:


Unit 3: The Artist as Influence.


Evidence of Pre-videoing and post editing

Evidence of pre-recording. This was in the script that I made many edits to as listed below.

  1. How has it been since you collected these cards?  It has been so long since I started collecting, but I think I have been collecting since I was really young, about 7 years old.

  1. How many cards have you collected, approx? I have collected around 14,000 cards, approx, But I know that this collection is insanely small compared the competitive gamers collection. Legend has it that professional gamers have more than 100,000 cards


  1. Where do you store all of these cards? I hide mine wherever I can, some are in boxes, others, I have stuffed into pages of books, into pocket of jackets. But other friends of mine have hired storage unit like from Kennards storage and have placed their cards in boxes there.  
  1. How long have you been living in the basement ?  I’ve been living in the basement since I started collecting my items because I knew I was going to have plenty of the cards.

  1. What's the most expensive items? The most expensive item in my collection is worth $1200.  It’s not much, but over time, it will become more rare and will be worth more.  


  1. What will you do when your card collection gets bigger than you? When my card collection becomes bigger than me, I will store all of the card in boxes and pile them high until it fills every room, then I will get more rooms and fill it there and then houses, then cities. LAUGHS MANIACALLY.  

  1. Would you sell your collection and how much would it be worth? It wouldn’t be worth a lot of money, it would only be a couple of hundred dollars. Some cards in this collection are worth a ton of money (about $1000), but other cards are only worth like $10.

EXTRA NOTES:
  1. Intro: the interviewer has some “magic cards” The interviewee follows them like a dog follows a bone. The interviewer uses the magic cards to try and get the interviewee to follow them. CUTSCENE. The interviewer and interviewee are seated and they start the interview process. The interviewer uses plain palm cards and refers to them as the interviewee’s most prized collection among his other millions of other items.


I considered making a shot list and storyboard, but then I figured that I would only be using 1 main shot/ angle and this makes having a storyboard detailing what angles useless. In the script, I included an extra note about how I planned on making the intro.


POST EDITING SECTION

Many scenes that had been filmed needed to be recorded again and added into the video as they were missing or the video files were corrupt. I also added another scene into the video because I felt that it was lacking in detail and also due to the fact that the video was short in the minimum time required for the video (3 min).

Self Evalutation

Evaluation/Reflection
NAME: Thomas Rakuljic

What grade did you think you will earn for each category? Type in your response.

Did Not Complete Assignment
1
Does Not All Meet Expectations
2
Approaches Expectations

3
Meets Expectations

4
Exceeds Expectations

5
Focus on all aspects of the task


X

Process from ideas development to completion


X

Organisation skills


X
Style & Workmanship


X

Content


X


TOTAL: 21/25
Strengths of the process or assessment task
Weaknesses of the process or assessment task
Some strengths of the task was the ability to organise actors and props.


Some weaknesses of the task included proper video to be used as the green screen background, writing a proper script and use of camera angles. 

What did you learn from doing this assessment task? (skills, life lessons, words etc.) From completing this assessment task, i learnt that having varying camera angles in the mockumentary makes it interesting and keeps the viewer focused on the video.

How do you feel about your final product?
I feel that my final product has some areas that could be improved on. ie) The collector in the background, the stuttering in the video and the overall quality of the video.

If you could do this task all over again, what would you do differently/the same?
If I could do this task again, I would make sure that the overall sound and video quality was perfect, the frames cut in and out at the right time and that the video used for the green screen features the collection only.

Did you enjoy this assessment task? Why or why not?
I enjoyed this assessment task because it enabled me to see sides of friends that I normally wouldn't see and interact with. It also showed how peers and others acted around cameras filming them. 

What would you improve for your final product for next time?
Improvements for the final product for next time would be improving the overall sound and video quality, ensuring that the frames cut in and out at the right time and that the video used for the green screen features the collection only and does not include the collector.