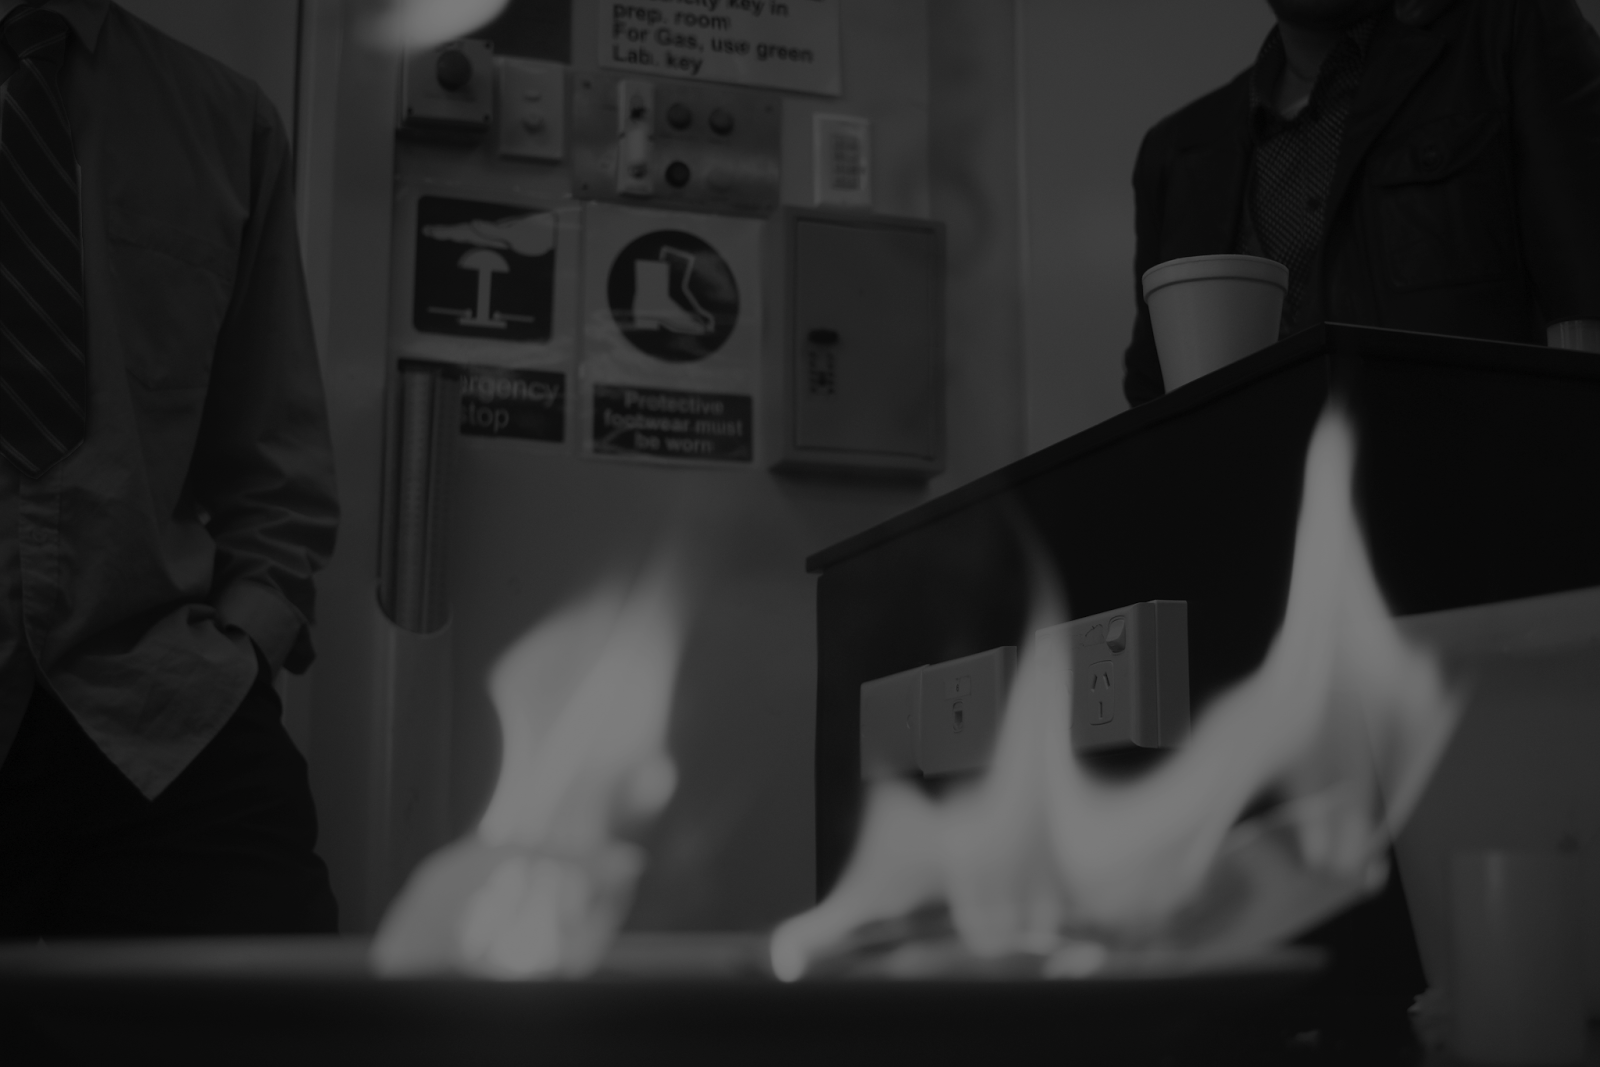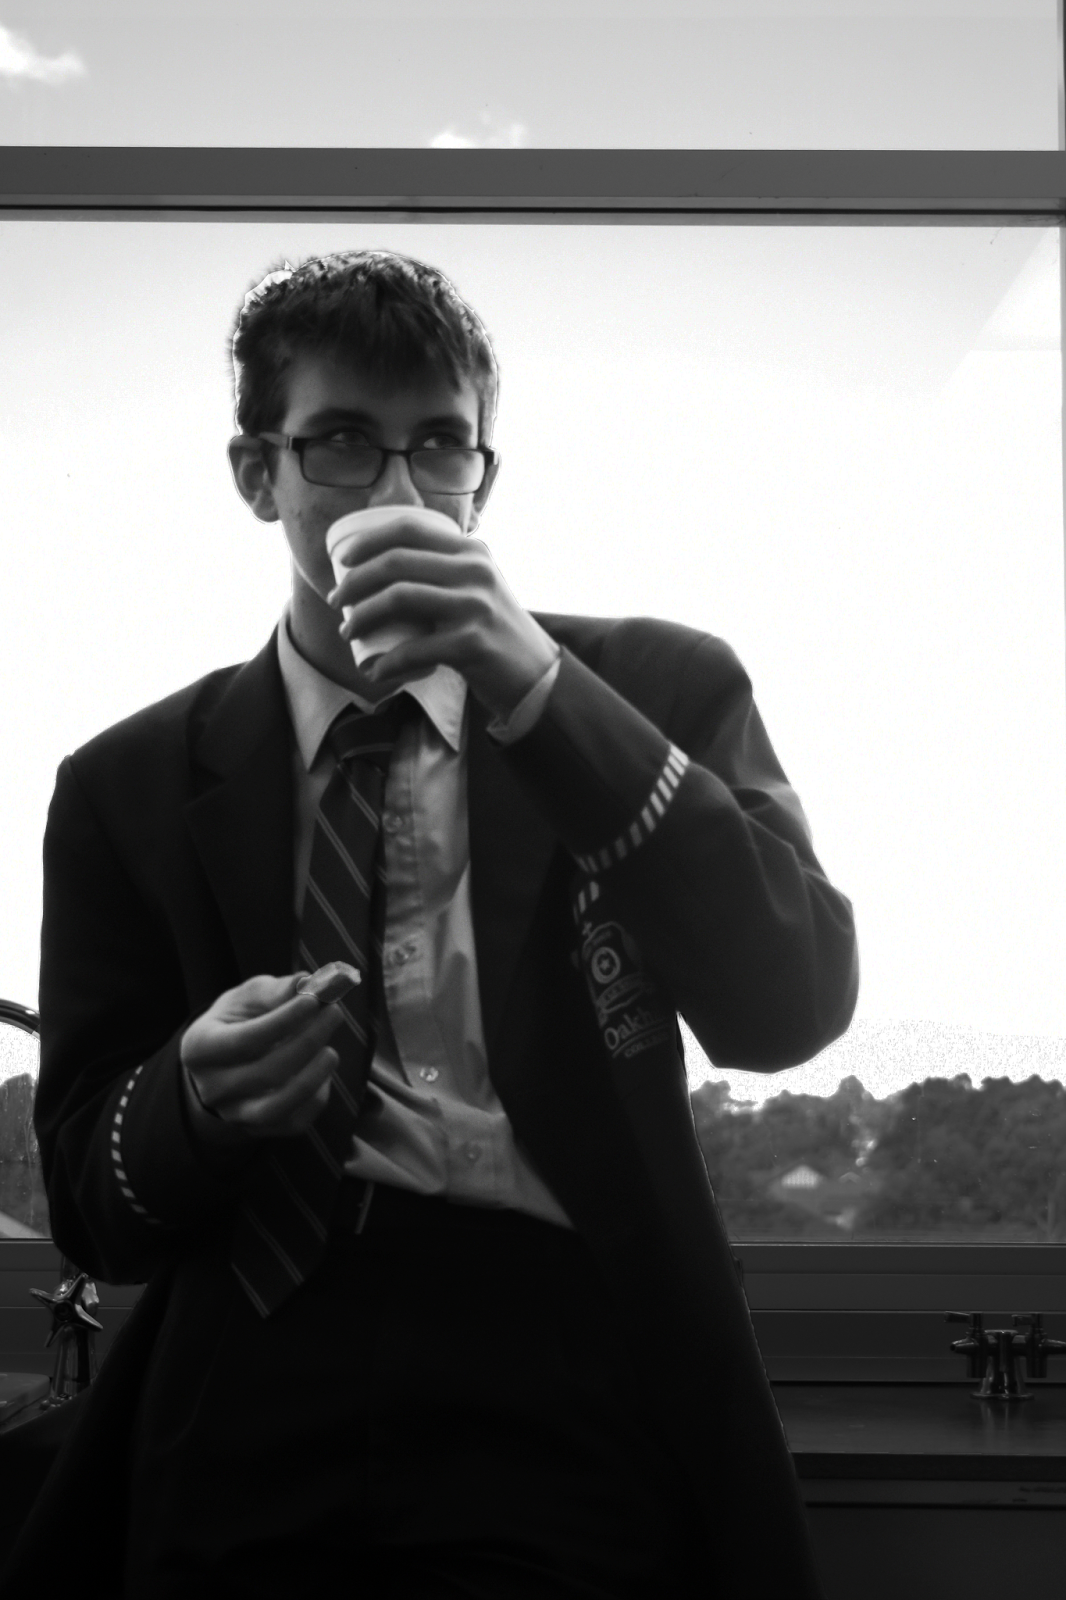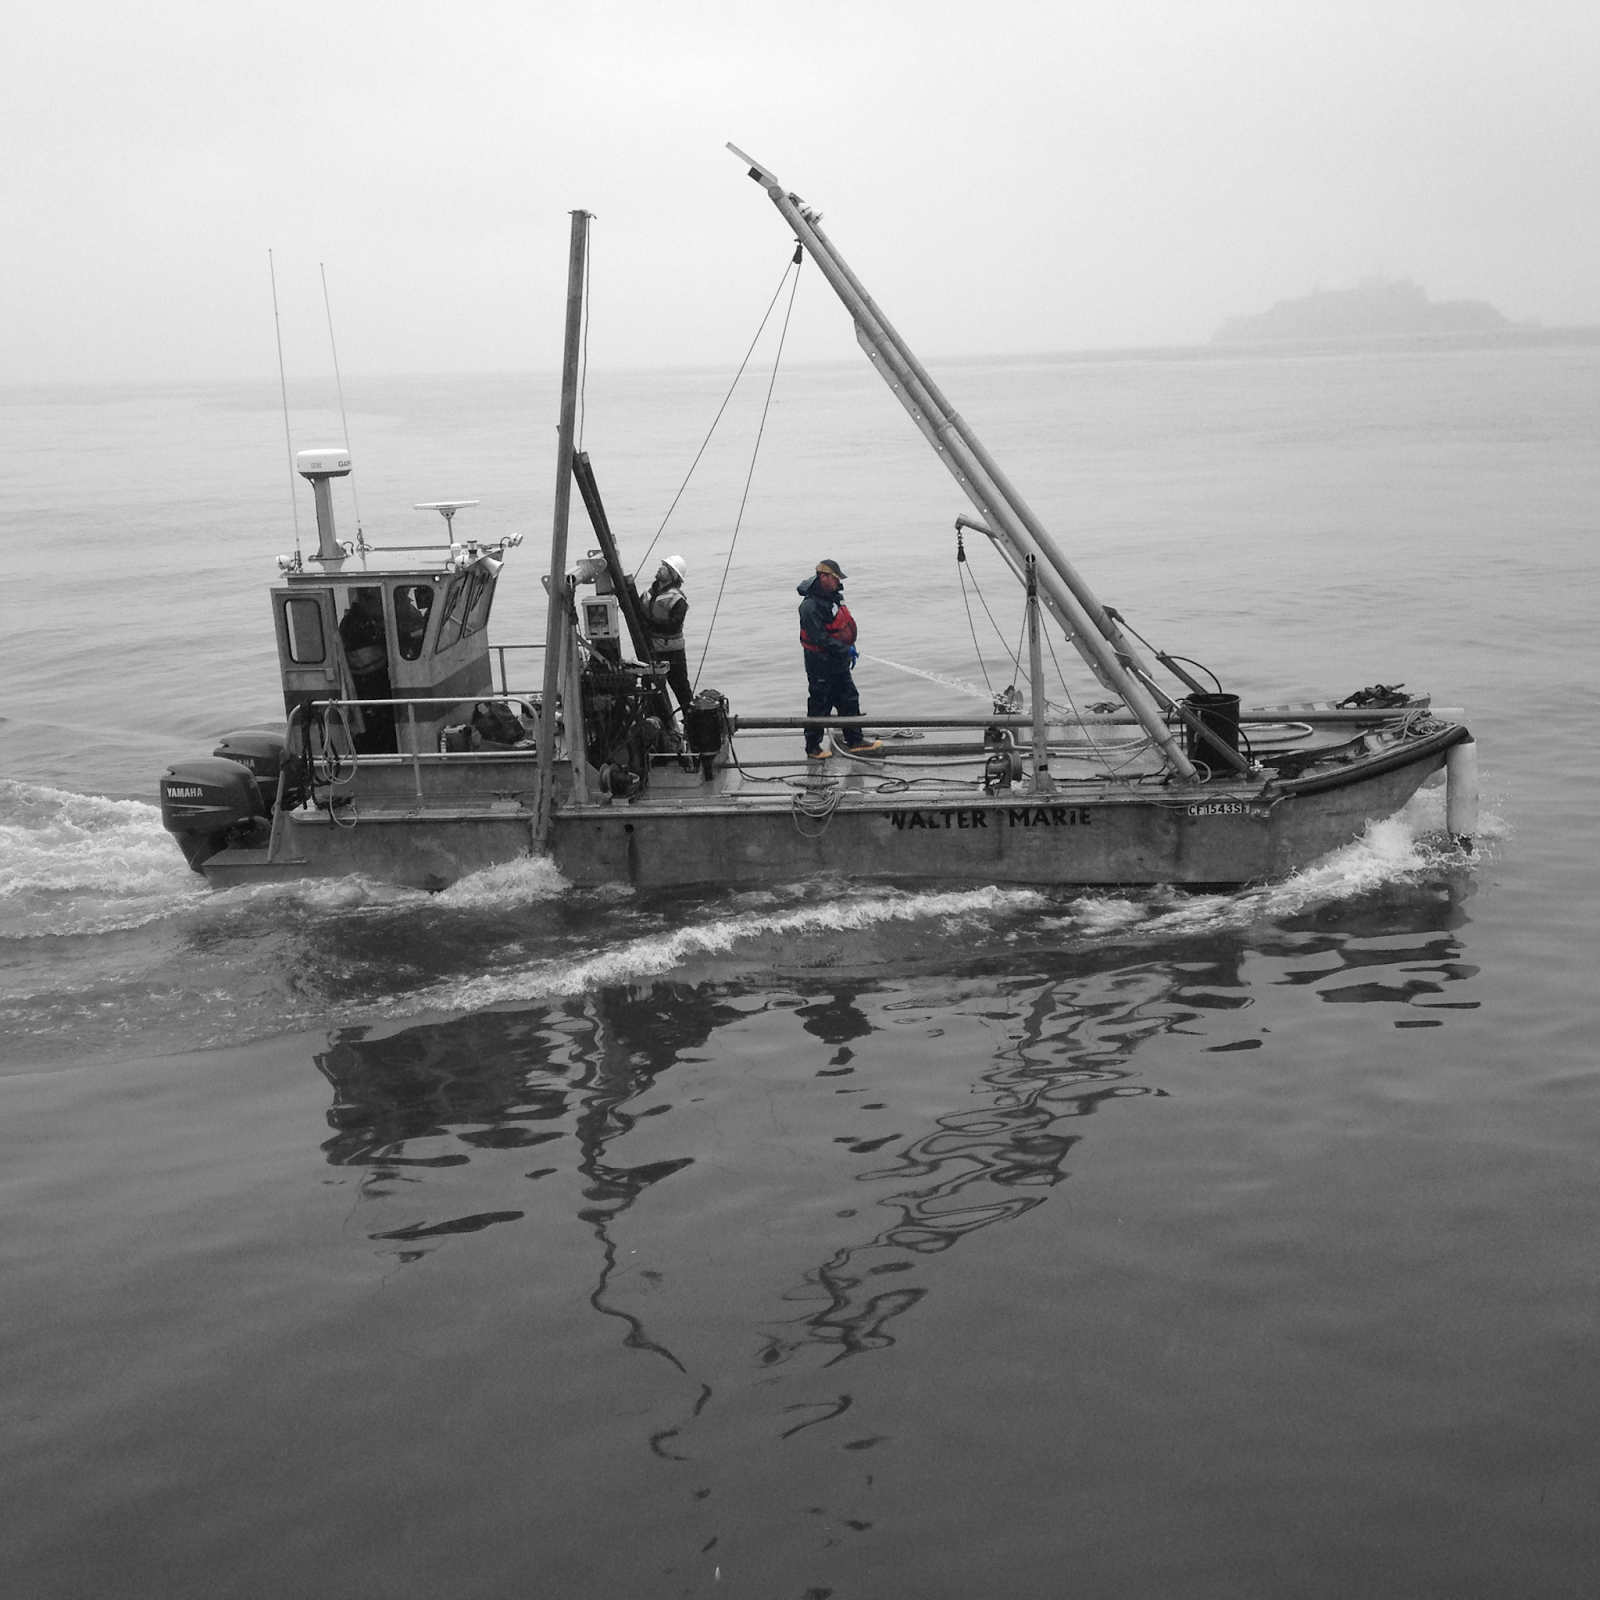
Camera Settings:
ISO: 50
Shutter: 1/640
F-Stop: f/2.4
Photoshop Edits:
Duplicate the first layer
Black and White Filter
Lasso Tool around the person (twice, because there is a beam that cuts through his body)
Copy the colour layer
Paste the colour layer
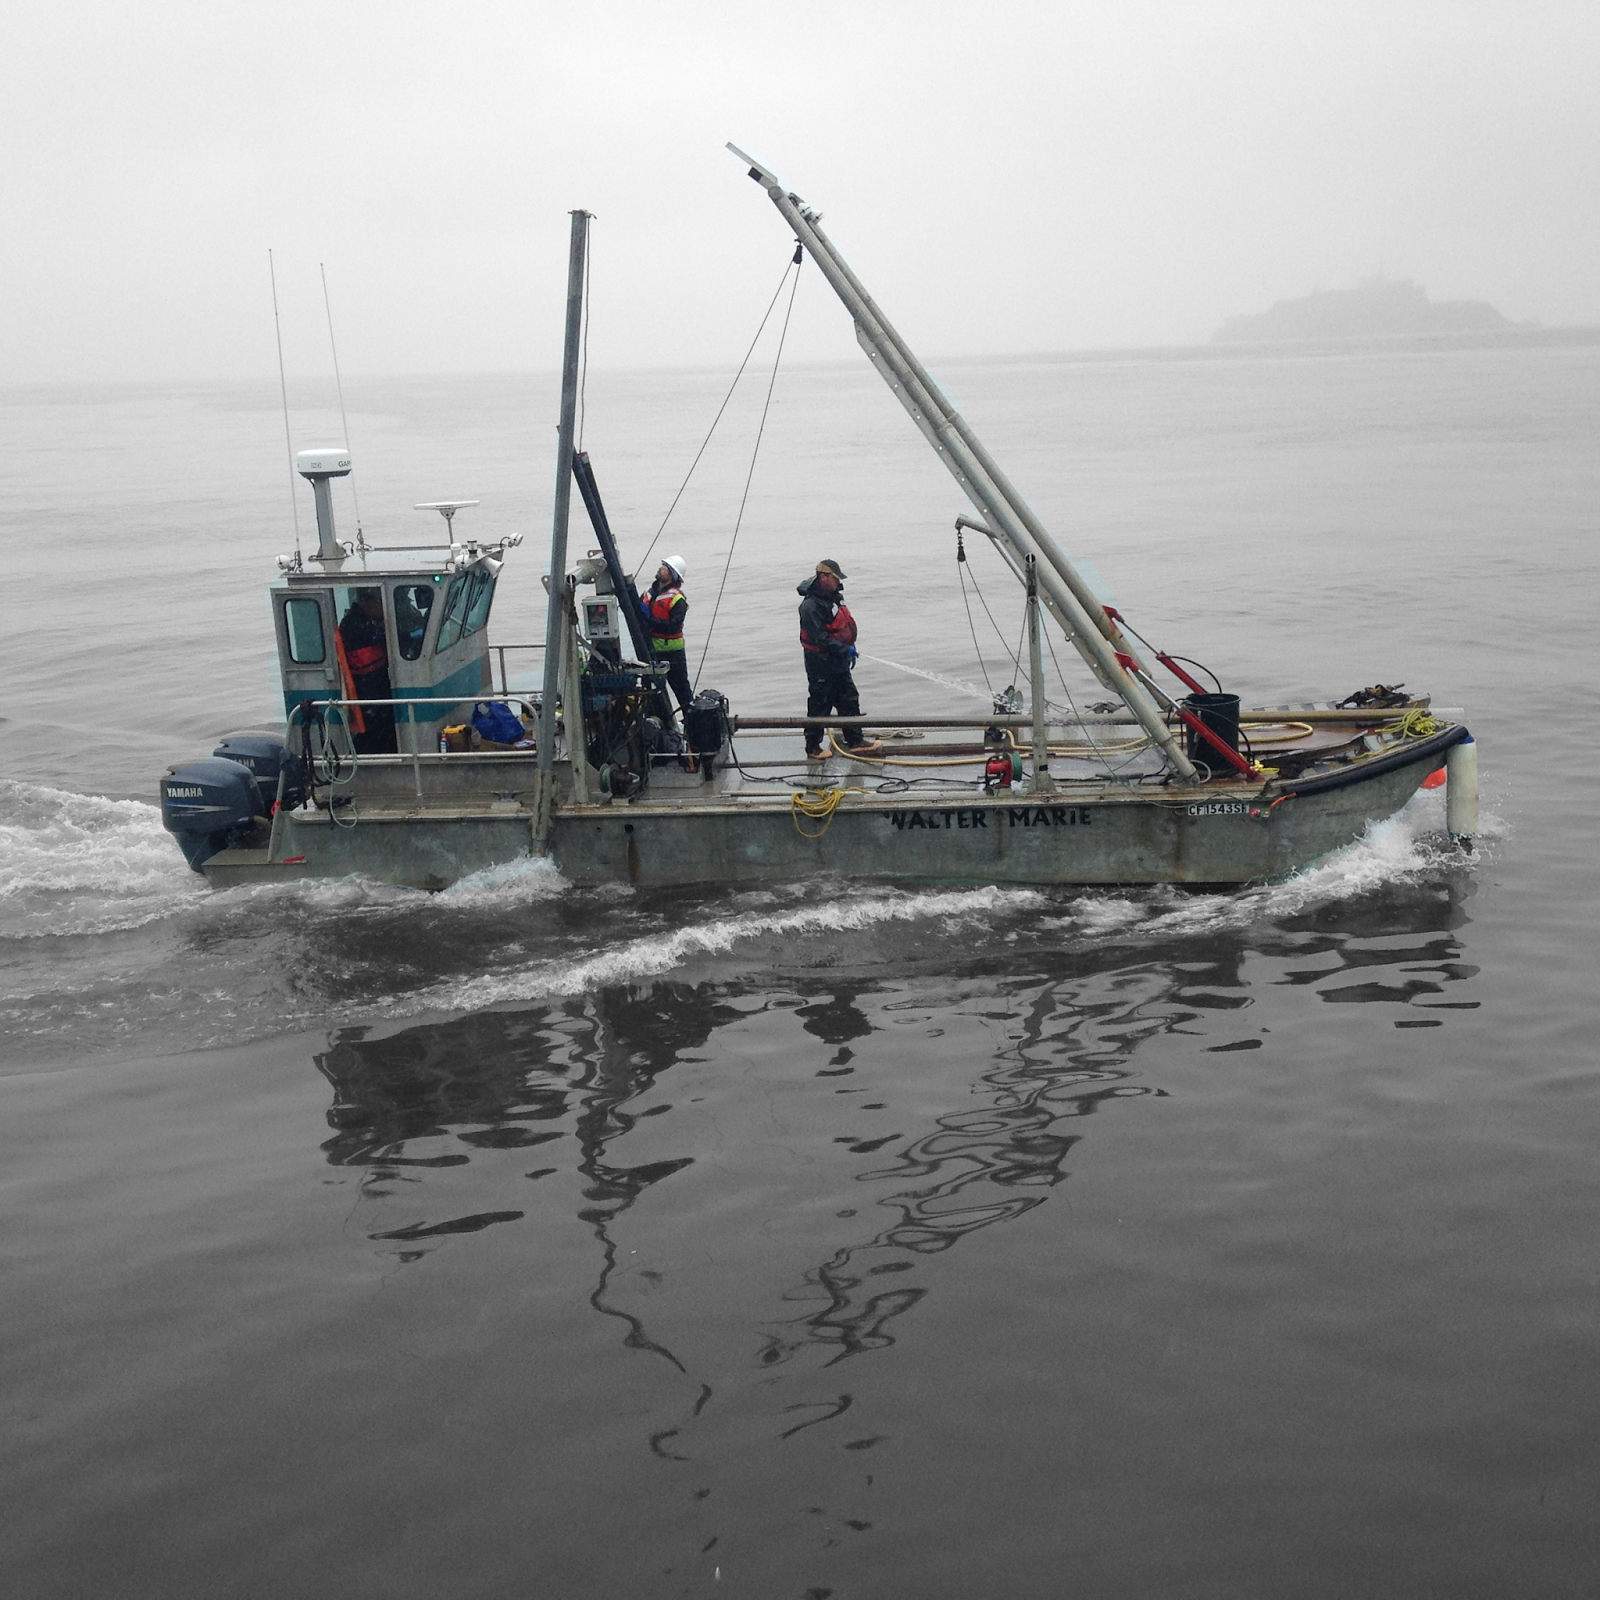
Monday 19th September
Camera Settings:ISO: 2000
Shutter Speed: 1/125
F-stop: f/4.2
Photoshop edits:
Auto Colour
Auto Contrast
Auto Tone

Camera Settings:
ISO: 500
Shutter Speed: 1/250
F-stop: f/4.2
Photoshop edits:
Auto Colour
Auto Contrast
Auto Tone
Cropped.
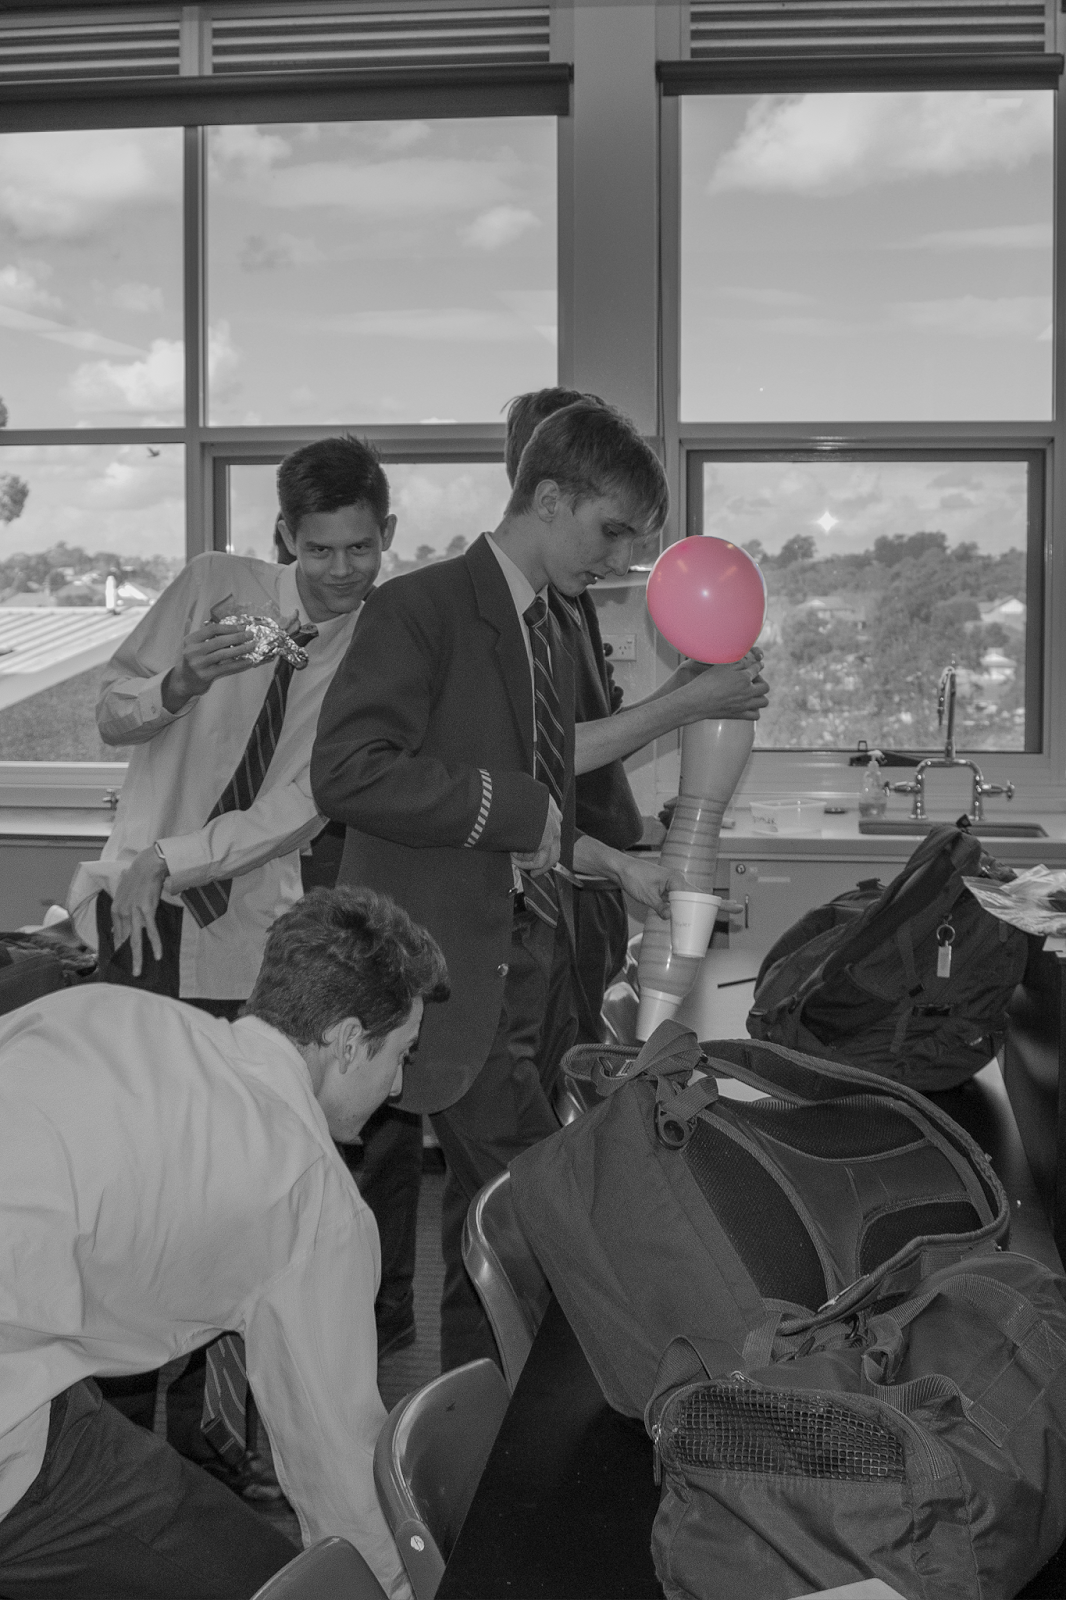
Friday 15th September
Camera Settings
ISO: 500
Shutter Speed: 1/200
F-Stop: f/5
Photoshop Edits
Duplicate the first layer
Black and White Filter
Lasso Tool around the balloon
Copy the colour layer
Paste the colour layer
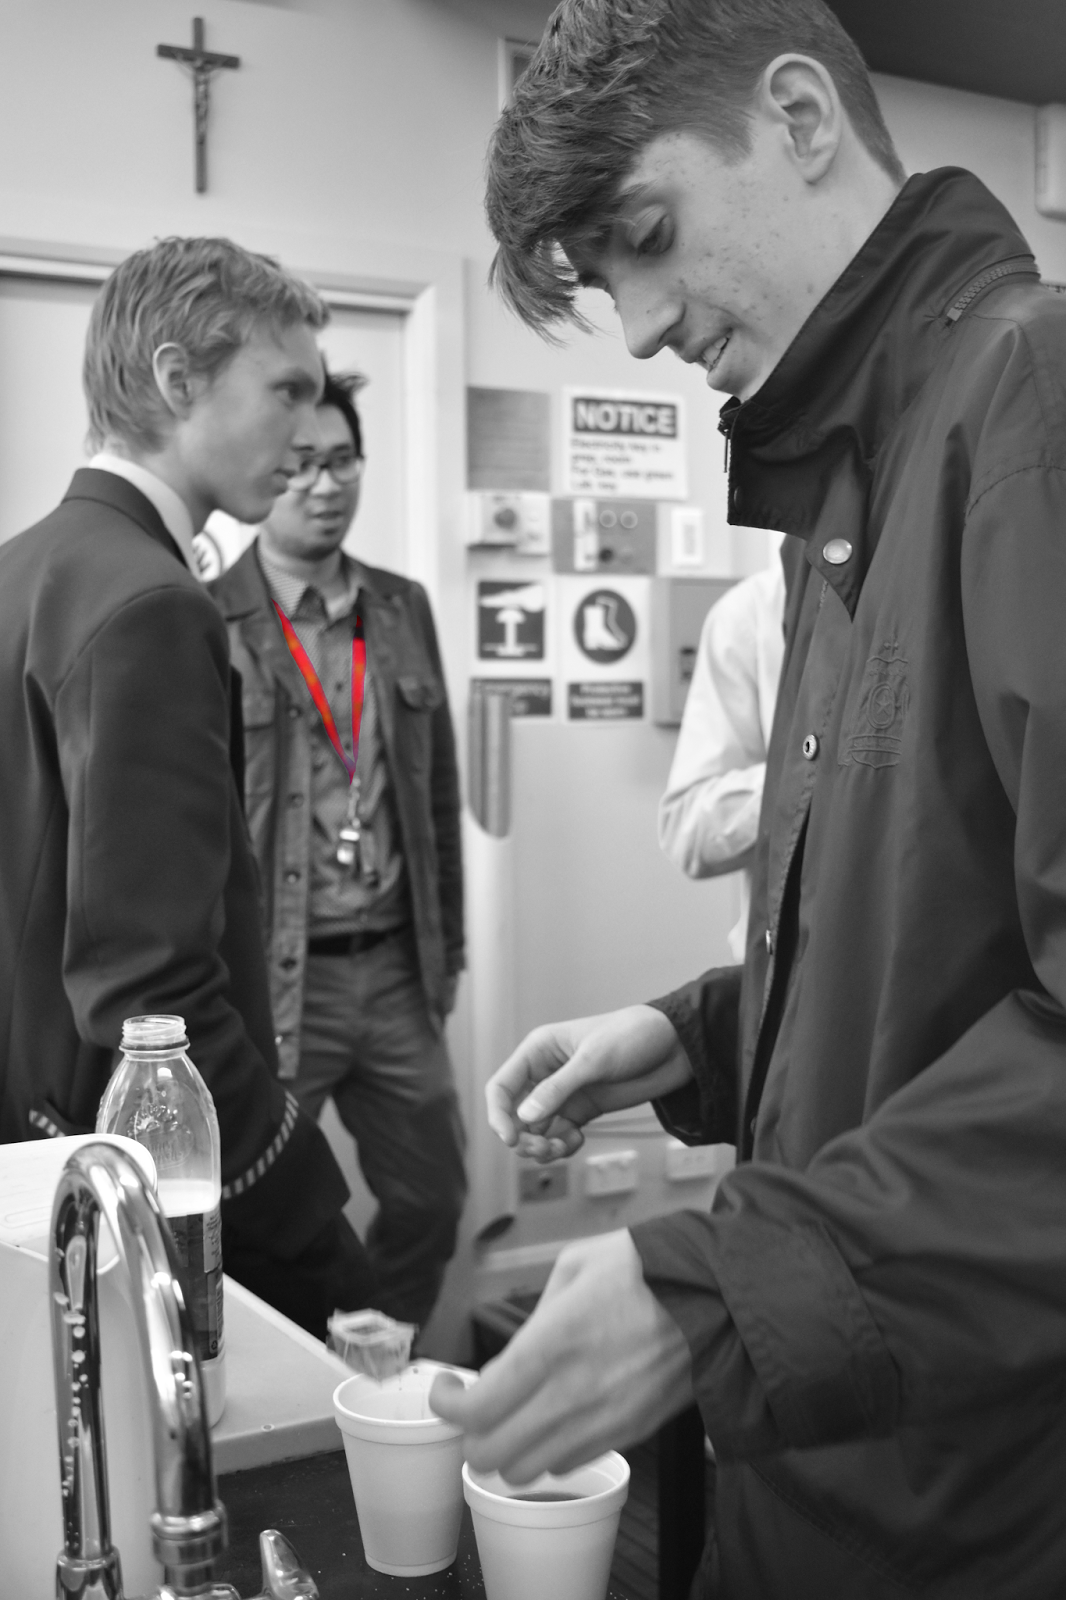
Camera Settings
ISO: 2000
Shutter Speed: 1/125
F-Stop: f/4.2
Photoshop Edits
Duplicate the first layer
Black and White Filter
Lasso Tool around the teachers lanyard
Copy the colour layer
Paste the colour layer
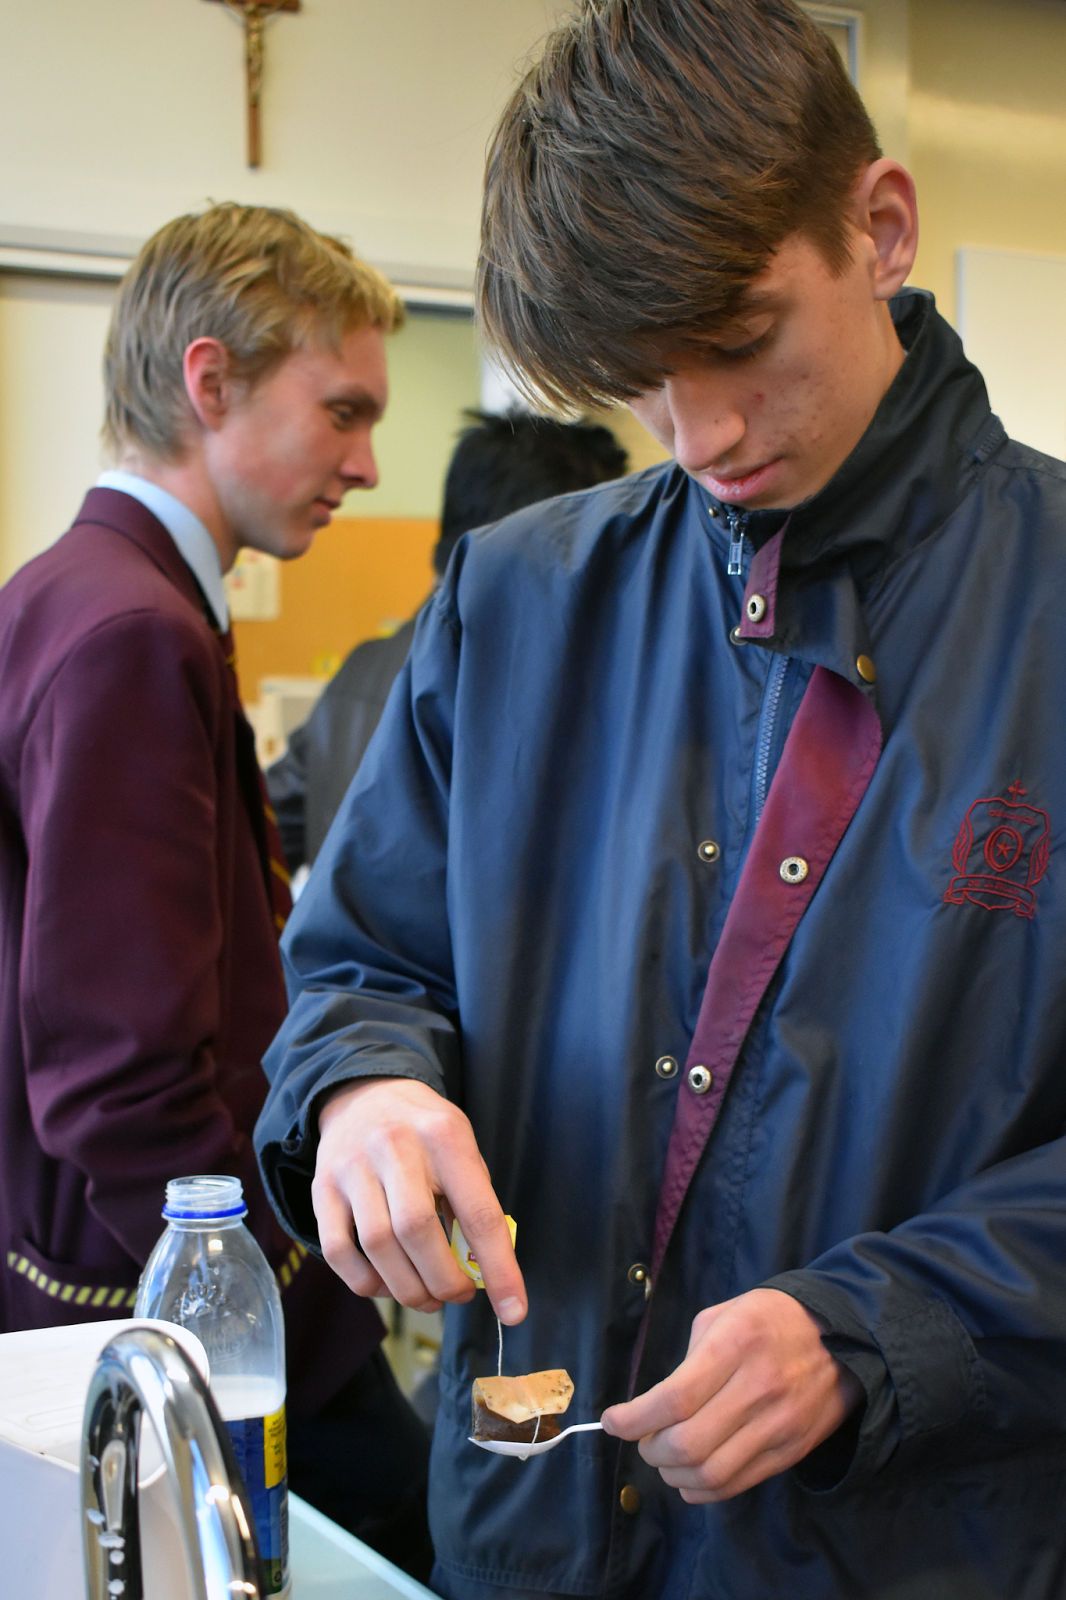
The purpose of these compositions is to draw attention to a specific thing in the photo.
ISO: 500
Shutter Speed: 1/200
F-Stop: f/5
Photoshop Edits
Duplicate the first layer
Black and White Filter
Lasso Tool around the balloon
Copy the colour layer
Paste the colour layer
Camera Settings
ISO: 2000
Shutter Speed: 1/125
F-Stop: f/4.2
Photoshop Edits
Duplicate the first layer
Black and White Filter
Lasso Tool around the teachers lanyard
Copy the colour layer
Paste the colour layer
The purpose of these compositions is to draw attention to a specific thing in the photo.
Thursday 14th September
Camera Settings
ISO: 2000
Shutter: 1/125
F-stop: f/4.2
Photoshop Edits
Auto Tone
Auto Colour
Auto Contrast
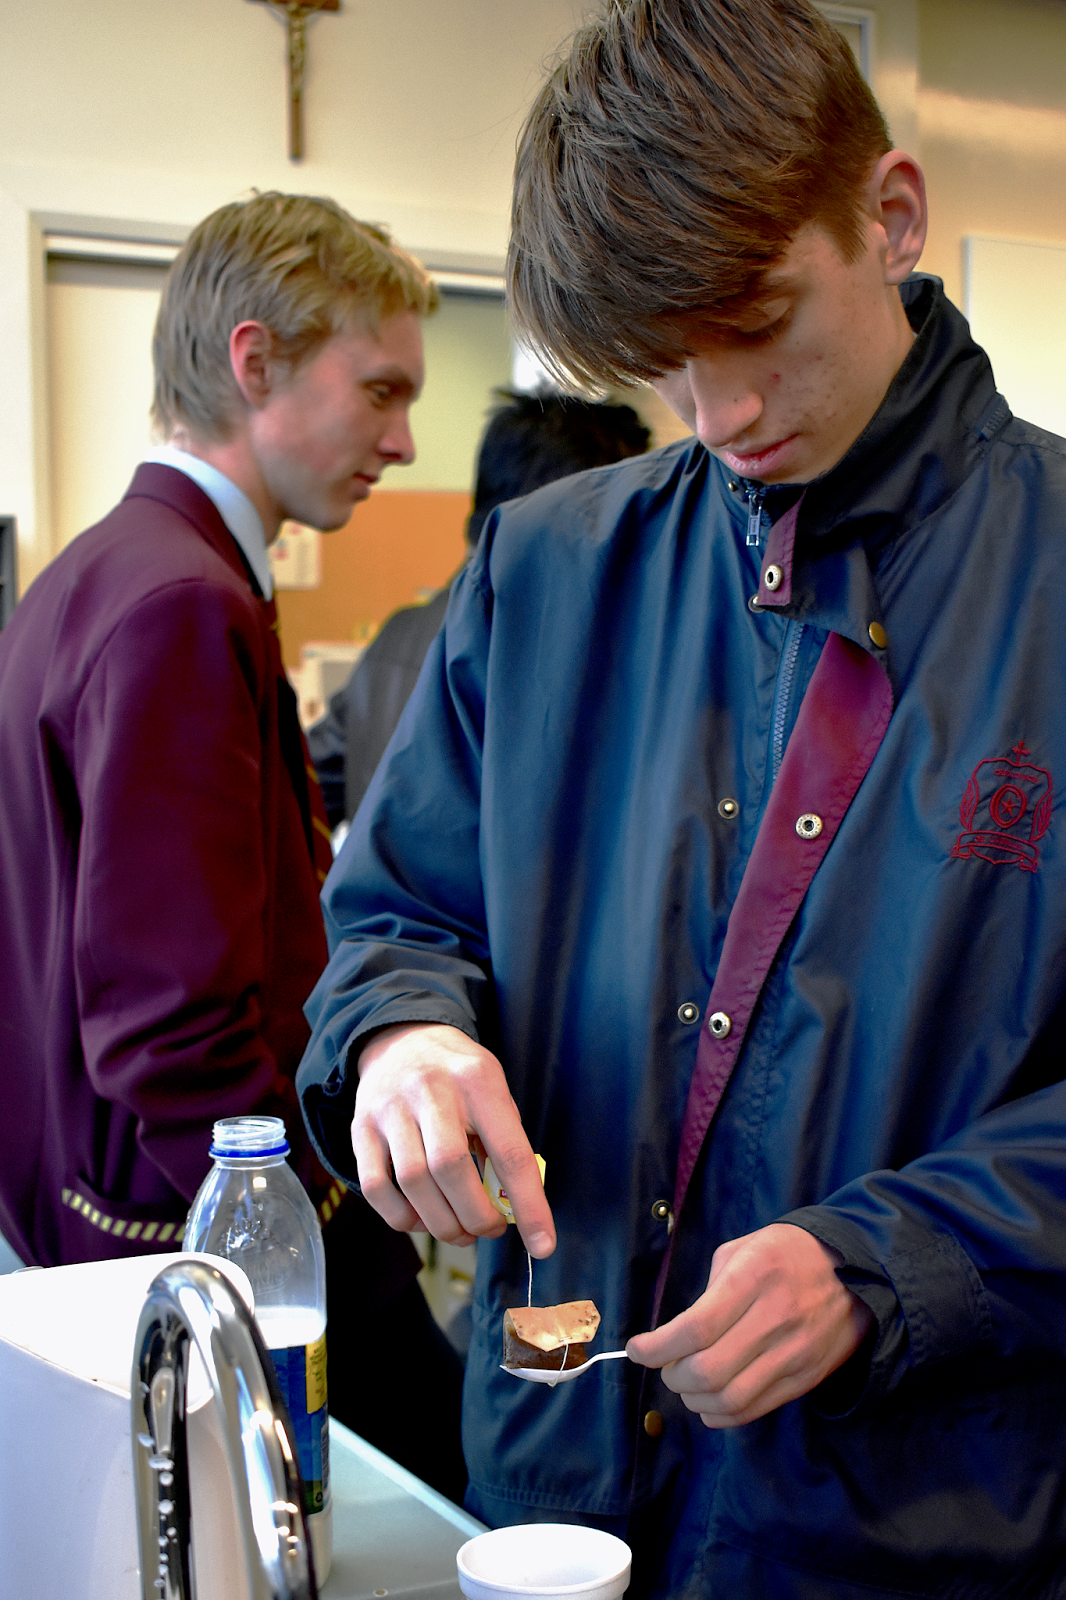
Camera Settings
ISO: 1250
Shutter: 1/125
F-stop: f/5.6
Photoshop Edits
Black and White Filter
Auto Tone
Auto Colour
Auto Contrast
ISO: 2000
Shutter: 1/125
F-stop: f/4.2
Photoshop Edits
Auto Tone
Auto Colour
Auto Contrast
Camera Settings
ISO: 1250
Shutter: 1/125
F-stop: f/5.6
Photoshop Edits
Black and White Filter
Auto Tone
Auto Colour
Auto Contrast
Tuesday 12th Sept
Left = original
Right = edited
I asked Ms for help and used to lasso tool to outline the subject. Then I used the Brightness/Contrast to increase the brightness and contrast of the image.
Camera settings:
F-stop: f/5.0
Shutter speed: 1/200
ISO: 800
Edits:
+106 Brightness
+6 contrast
+4 rotation clockwise
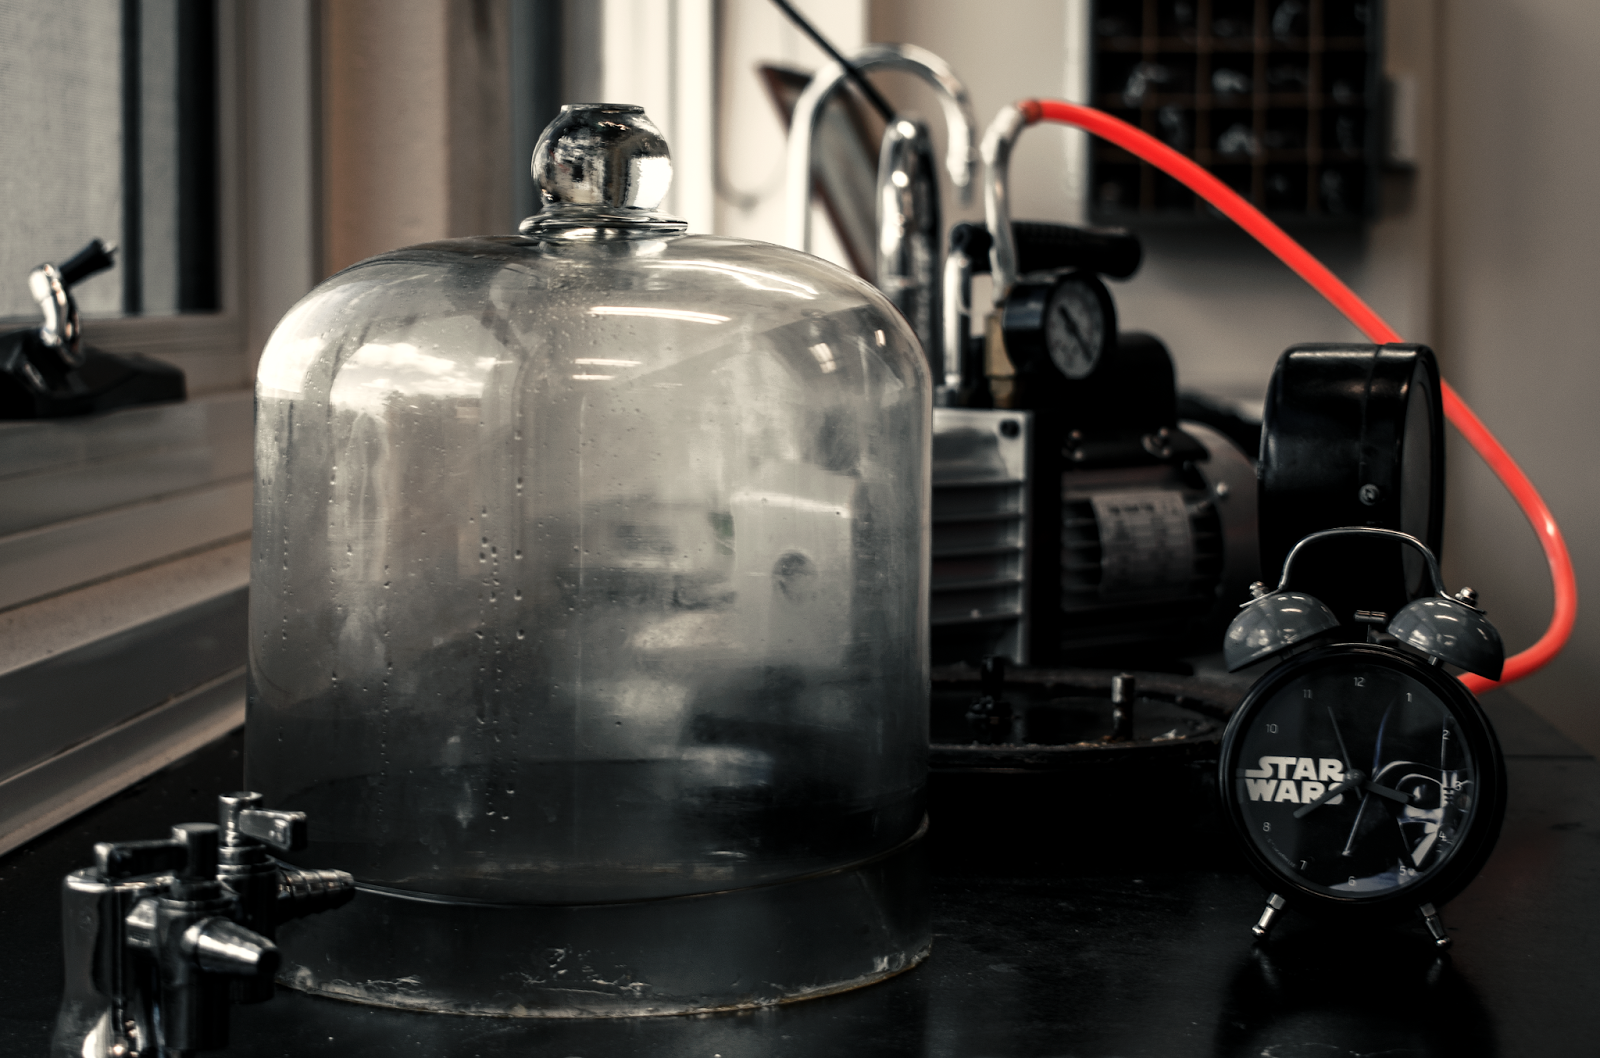
Photo 1 - Analysis - 40% Submission - Part A
Camera Settings
ISO: 100
Shutter Speed: 1/320
Aperture: f/8
Date & Time
25 August 2017 @2:40pm
Photoshop Edits:
-100 highlights
-1.04 exposure
-33 shadows
-100 whites
+3 blacks
Lighting
Indoor classroom lighting.
This photo is of a glass dome that has captured oxygen, then it has been pressurized to create condensation on the inside. I believe that this photo is very effective through the use of brightness and direction. This is achieved through the bright dome that is towards the left of the composition. This composition is effective in mirroring my influencing artists practice as it displays simplicity and makes an interesting subject. This is achieved through the use of 30-60-10. 30% of the photograph includes the red tubing, the Star Wars timer, the taps and the pressuriser behind the stopwatch. 60% is the glass dome and 10% is the rest of the composition.
Subscribe to:
Posts (Atom)